Posted on

Nissan SR20DET cylinder head rebuild process

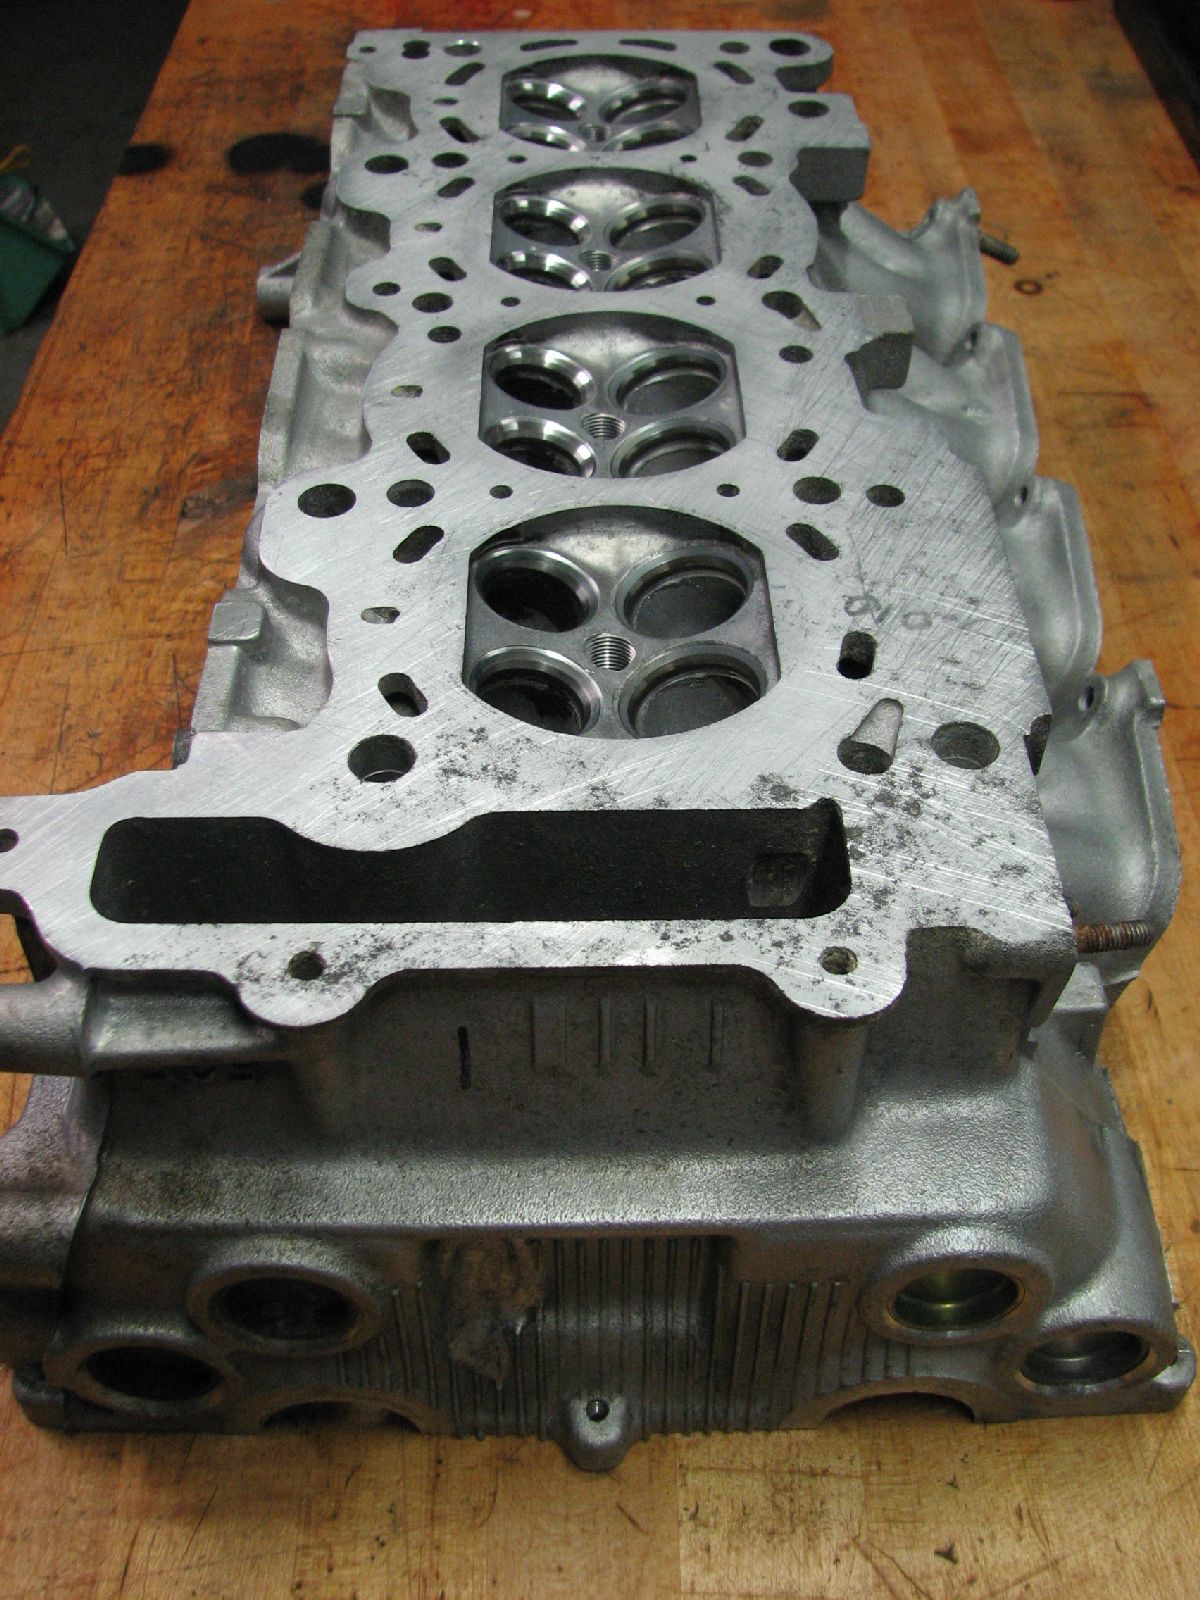
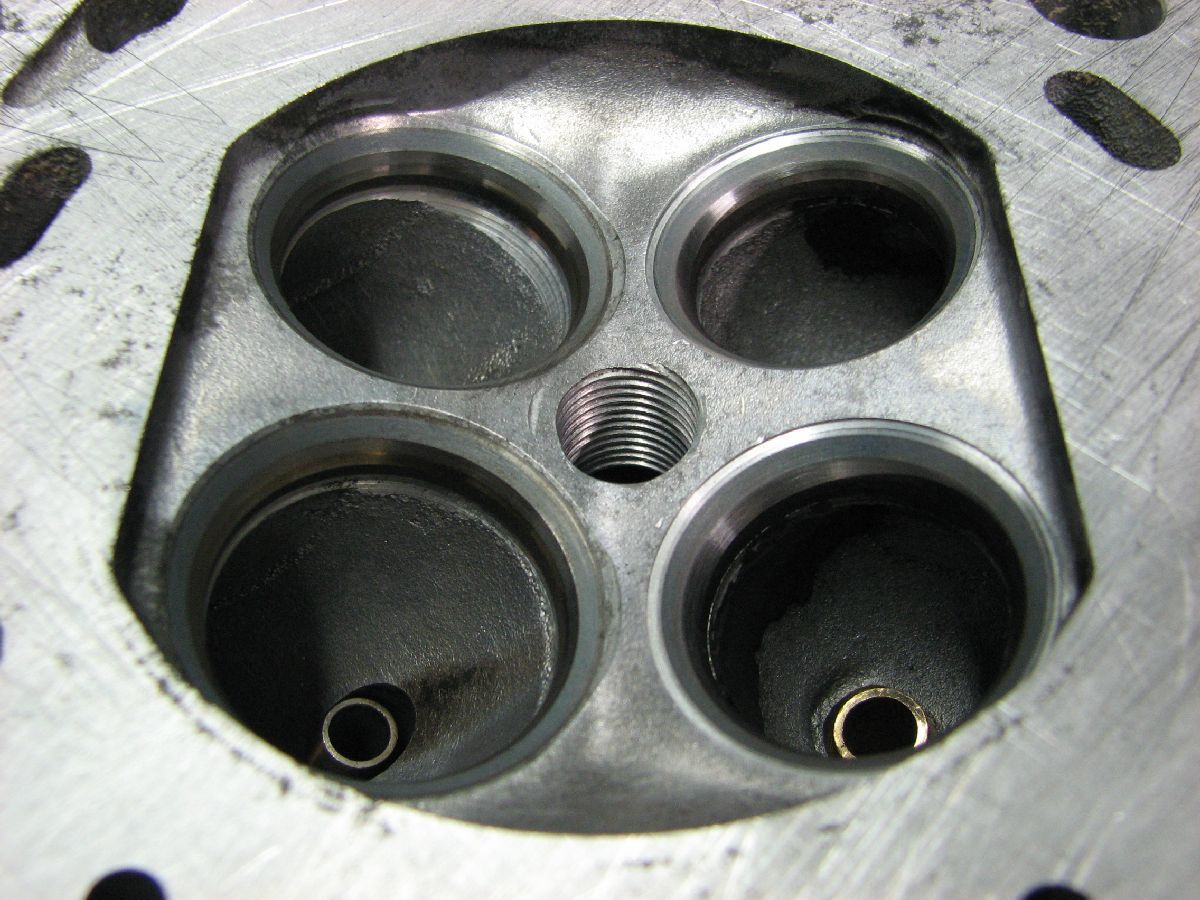
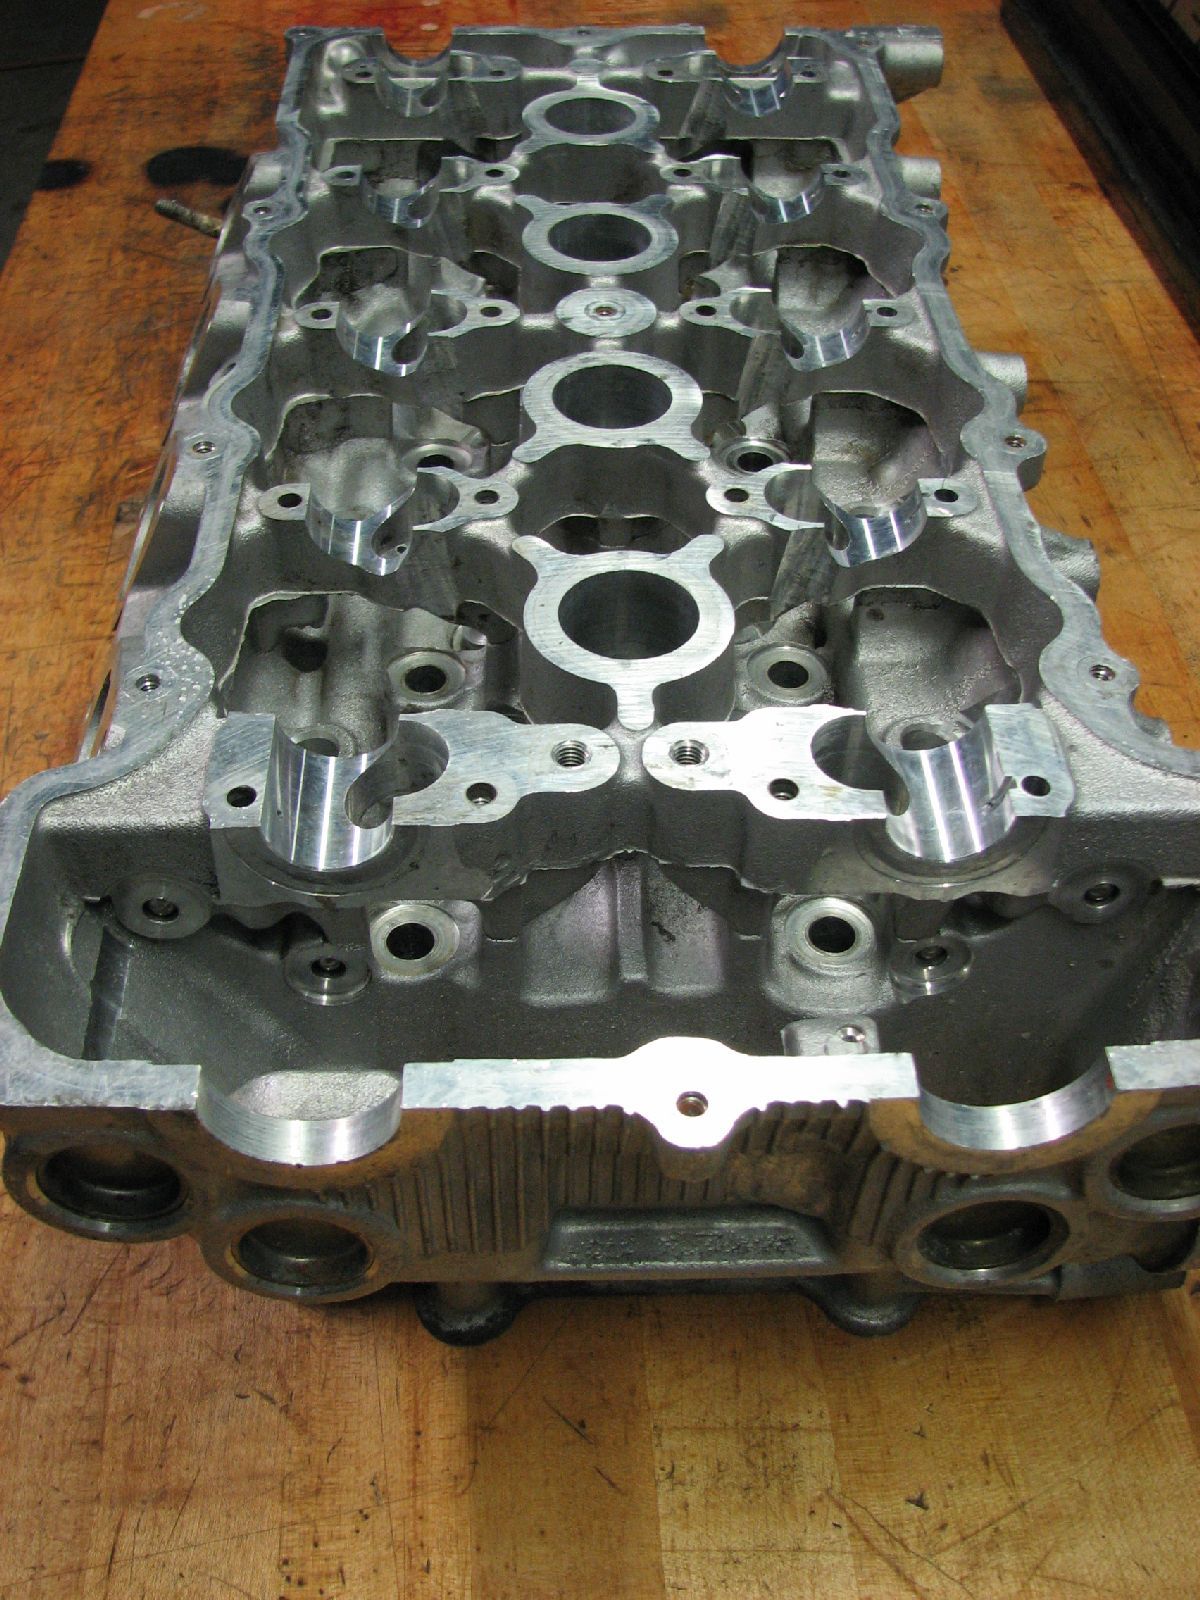
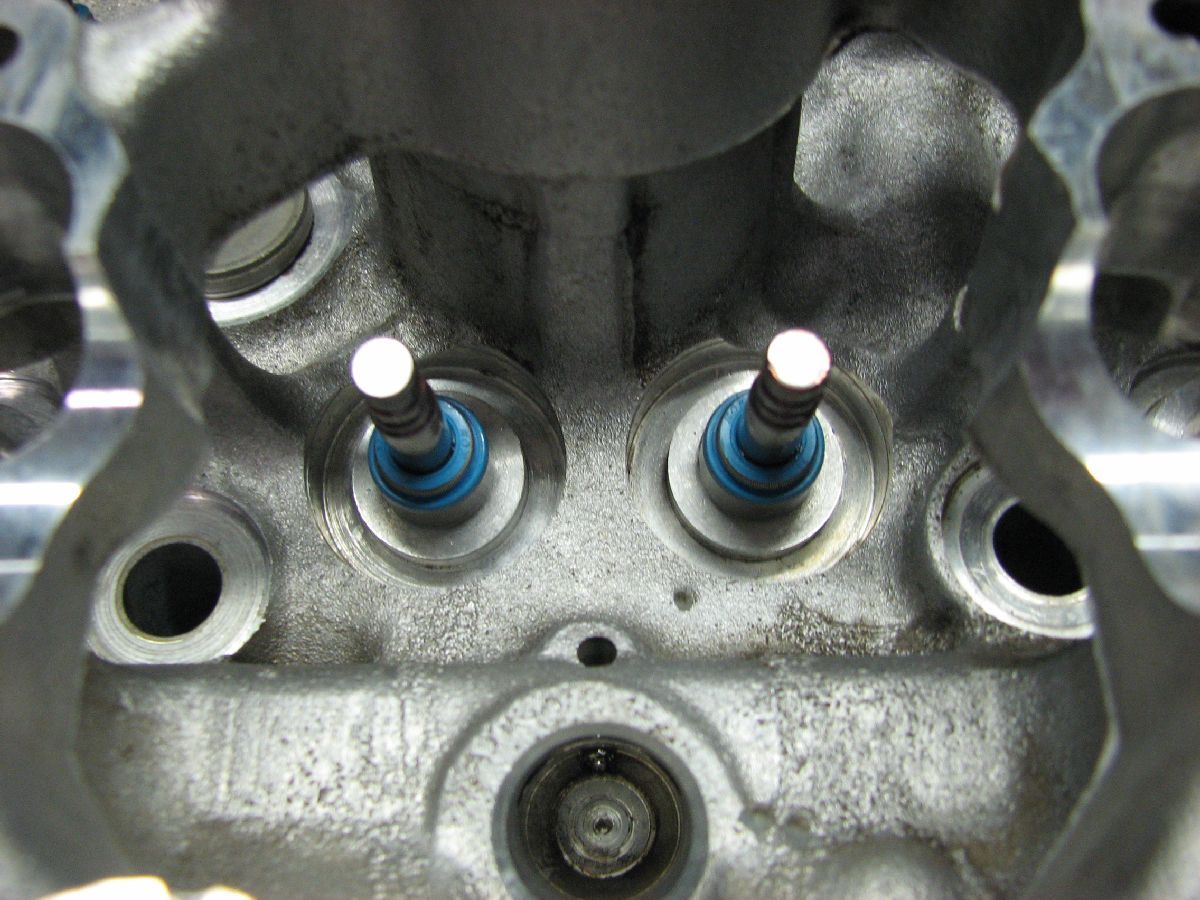
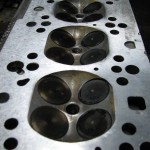
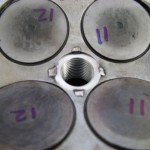
Here is another SR20DET cylinder head we rebuilt at PRE. This cylinder head came to us in very poor condition. Customer wanted a OEM style rebuild. Upon complete disassembly and inspection it became obvious actual condition of the cylinder head. Cylinder head gasket mating surface was slightly warped, exhaust valve guides worn beyond factory limit, valves pitted, and valve seats showed unacceptable wear. Since this cylinder head is going on a performance engine intended for high speed auto cross and drifting we had to make sure every specification was better than factory. This is what separates engine builders, attention to detail.

Work performed:

Cylinder head gasket mating surface checked using precision straight edge
Valve seats checked for out-of-round using precision seat concentricity gauge
All valves checked for bends and out-of-round using v-block and dial indicator
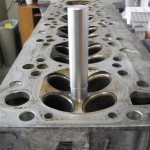
Exhaust guide clearances checked using Sunnen P310 valve guide gauge
Exhaust guides replaced with manganese bronze units
Exhaust guides honed to spec using Sunnen P190 valve guide hone
All valves refaced using IDL/Sunnen valve grinding/refacing machine
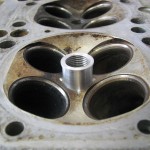
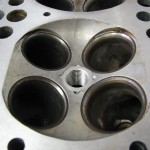
All valve seats recut using Serdi 100 valve seat cutting system
All valve hand lapped using grinding compound and checked for seal using machinists blue
Cylinder head gasket mating surface deck milled and hand stoned to prepare for metal head gasket
Viton valve stem seals
All valve springs, retainers, spring seats, and keepers checked for rust, pitting, and cleaned
All valves springs checked for pressure at install height and full lift using Rimac valve spring tester
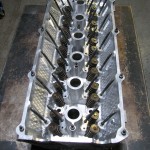
Cylinder head carefully assembled and bagged for storage awaiting customer pick-up


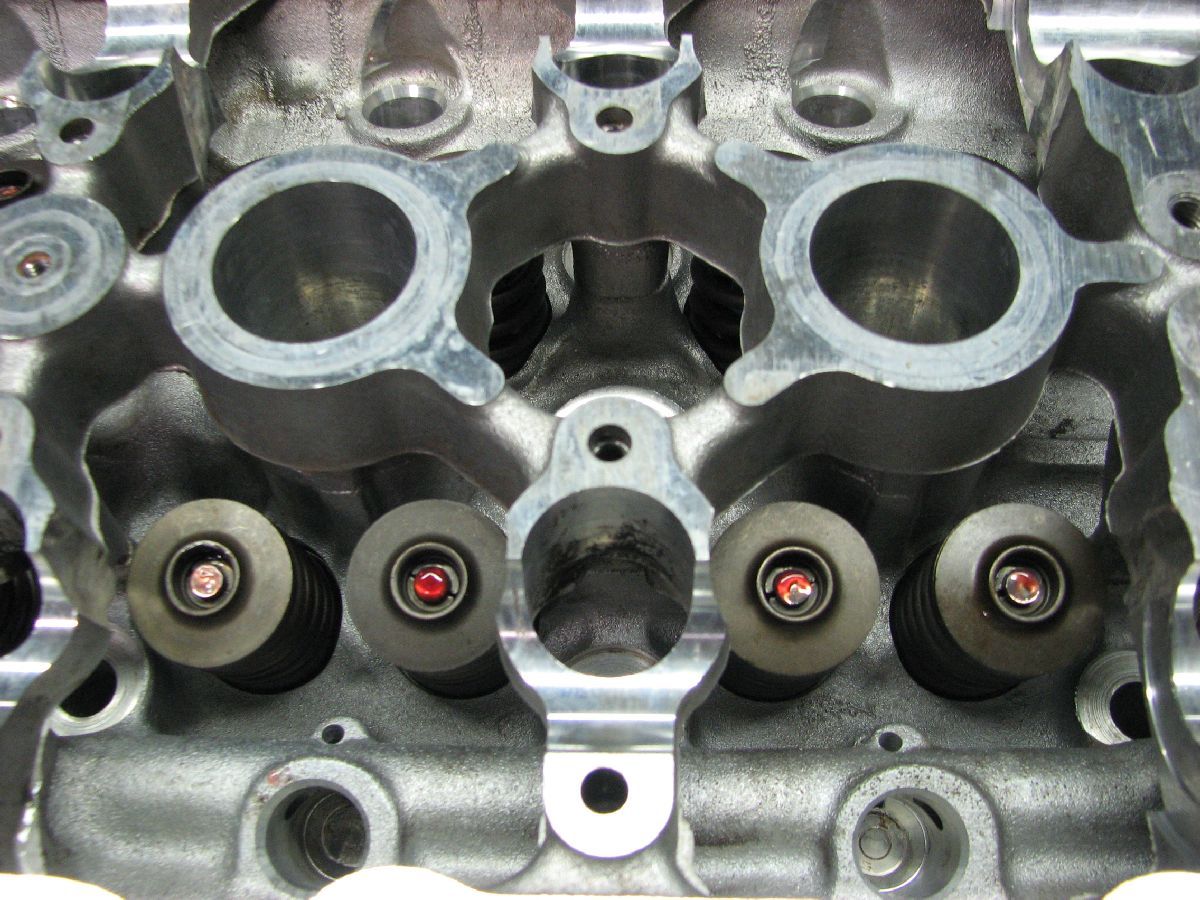
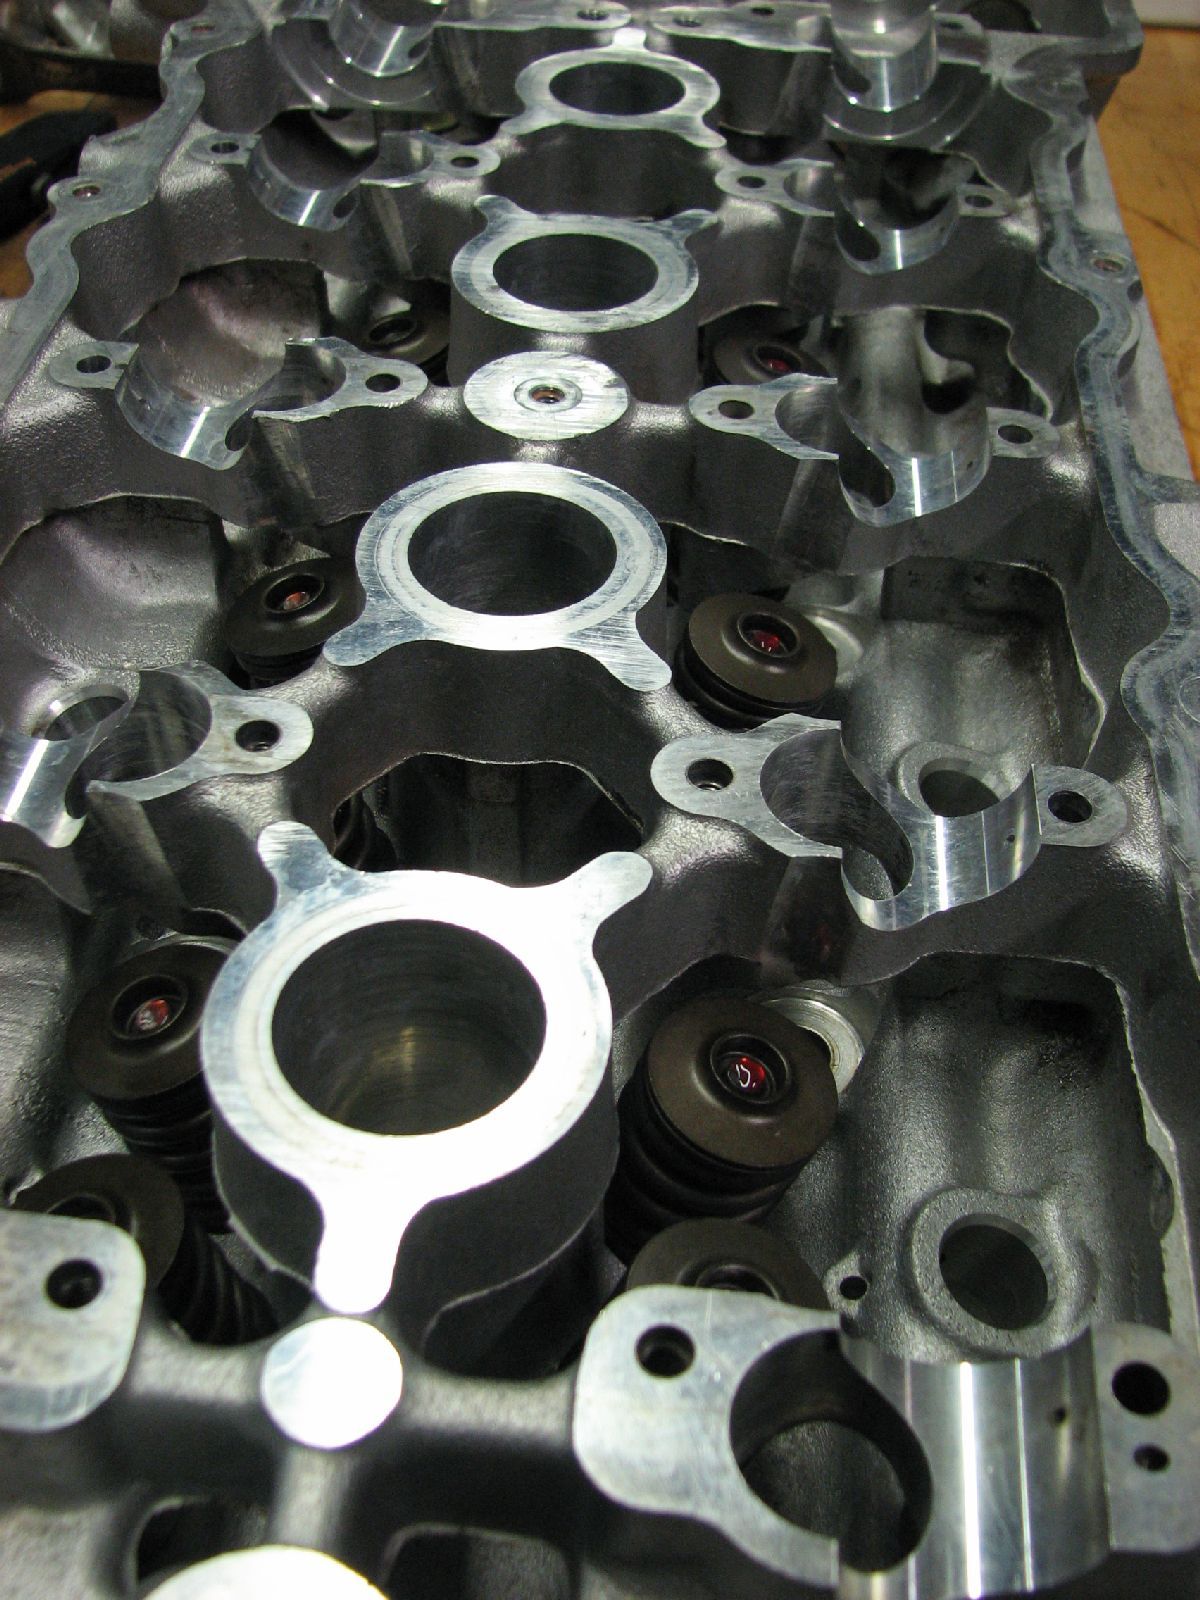
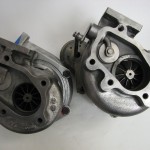
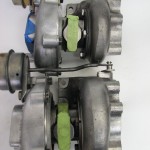
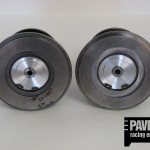
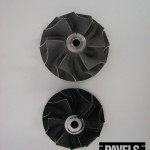
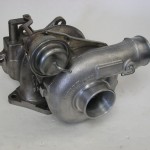
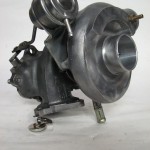
Pictures of the cylinder head during the rebuild process:

Posted on

BMW S52 cylinder head spark plug thread repair

This is a custom cylinder head repair we did at PRE. Spark plug on cylinder 6 was not torqued down properly, vibrated loose, and finally ripped out all the thread. Heli-coil spark plug thread repair kit was of no help in this situation; too much material was torn out. This kind of repair cannot be done with the cylinder head installed on the block. We removed the head from the block, completely disassembled it, and inspected all components for wear. Cylinder head was checked for cracks with a Magna-Flux system. BWM M50/M52/S50/S52 head are notorious for cracking into the water jacket near the exhaust valves. After passing crack inspection the head was cleaned and valve seats checked for concentricity. Cylinder head was also checked for straightness of the deck mating surface. After passing all of the above tests we began the repair process. Cylinder head was mounted in a Bridgeport style mill and spark plug hole counter bored to a specific size. Additional counter bored “step” was machined and 4 spots for laser welding of the fitting. An aluminum fitting was precise machined in a lathe with a standard M14x1.5 spark plug thread pitch on the inside and a precise side on the outside diameter. Aluminum fitting was machined to have a 0.002″ inch interference press fit into the head. Also a pilot tool was machined to ease fitting installation. After all machining work was done the cylinder was heated up, fitting cooled, and pressed in with a light coat of green “sleeve type” Loc-tite. Afterwards the fitting was laser welded in 4 designated spots in the head. Combustion chamber was vacuum checked for seal and volume checked to make sure all cylinders maintained same compression ratio. Cylinder head was deck mill faced and hand stoned to ensure perfect mating surface for a factory or performance multi layer steel head gasket. All valves were cleaned and refaced using a Kwikway valve grinding machine. Valve stem seals replaced with genuine OEM BMW parts. All valve springs we examined and spring pressures checked using a Rimac valve spring tester.

Pictures of individual machined components and finished work:

Posted on 8 Comments

Garrett T28 turbo rebuild and journal bearing conversion 0.86A/R

This is a custom turbo we built for a customer in Pennsylvania. This project started with a damaged ball bearing Garrett T28 turbocharger. Since the turbo cannot be serviced or rebuilt we converted it to journal bearing system. We build these turbos usually with a more popular 0.64A/R turbine housing. This time the customer requested a bigger turbine rotor shaft and turbine housing to better suit his performance-oriented needs. All machining was performed like a standard Journal Bearing Conversion with the exception of additional machining of the wastegate mount on the compressor housing.

Pictures of the finished unit and individual components for comparison:

Posted on 1 Comment

Volvo V70 TD04H-13T Turbo Rebuild

This was a Volvo turbo rebuild for a customer in Hawaii. He complained of light smoking under heavy load. Prior to complete disassembly and inspection we could not offer a 100% quote, but we had a feeling it was the turbine shaft seal started to wear out. The customer sent us the turbo for a complete overhaul. After complete disassembly and component inspection we diagnosed a worn turbine shaft seal as the culprit of the oil burning, just like we diagnosed over the phone. Luckily our customer maintained his vehicle well and caught the problem before it became an expensive and time consuming ordeal. This turbo needed just the Basic Rebuild Service. All components were cleaned and inspected, while replacing all bearings, seals, 0-rings, and hardware, followed by balancing of the rotor assembly, of course.

APPLICATION:

1997-2000 V70 AWD, V70 XC (Cross Country), S70 AWD, V70 GLT, S70 GLT
Will fit in ANY 1994-2000 FWD or AWD Volvo based on the 850/P80/X70 platform (ie. excluding S80, S40, V40 cars).
This turbo is interchangeable with 13G, 15G, 16T, 18T, and 19T turbos, it’s just that this 13T is slightly smaller.

Pictures of the rebuilt turbo:

Posted on

Toyota CT26 60-1 Turbo Rebuild

This is another CT26 turbo rebuild we performed at PRE. This turbo suffered failure due to mechanic’s error, who left a shop rag in the turbo inlet pipe. Compressor wheel was destroyed and a complete overhaul was a proper solution. This turbocharger will be rebuilt and installed on a customers Toyota Cressida with a 7MGTE engine. This turbo received the typical attention to detail we are use to at PRE. New compressor wheel, new rebuild components, rotor assembly balancing. This turbo received a genuine replacement Garrett 60-1 compressor wheel in the process.

APPLICATION:

1986-1992 Toyota Supra Turbo Mk3… 7MGTE engine
1988-1992 Toyota Cressida… 7MGTE engine
1986-1989 Toyota Celica All-Trac (GT-Four)… 3SGTE engine*
1990-1993 Toyota Celica All-Trac (GT-Four)… 3SGTE engine*
1989-1999 Toyota MR2… 3SGTE engine*
*modifications required

Pictures of rebuilt turbo:

Posted on 1 Comment

Toyota CT26 Turbo Rebuild

Another common turbo we rebuild at PRE. This is a stock CT26 found on the MK3(1986-1992) Toyota Supra. This turbo showed its age when we received it. Worn compressor wheel with chips and bents, excessive wear of the bearing housing, and typical cracks in the turbine housing inlet and wastegate opening. We did a complete restoration on this turbocharger. new compressor wheel, micro-polished turbine rotor shaft, all new bearings, seals, o-rings, and of course, balancing of the rotating assembly. Bearing housing was worn out due to age and possible oil starvation. We honed out the housing to the next size journal bearing. With the exception of bearing housing honing this turbo qualified for our Basic Turbo Rebuild process.

APPLICATION:

1986-1992 Toyota Supra Turbo Mk3… 7MGTE engine
1988-1992 Toyota Cressida… 7MGTE engine
1986-1989 Toyota Celica All-Trac (GT-Four)… 3SGTE engine*
1990-1993 Toyota Celica All-Trac (GT-Four)… 3SGTE engine*
1989-1999 Toyota MR2… 3SGTE engine*
*modifications required

Below you will find pictures of the finished unit as well as individual component pictures before and after the rebuild process.

Posted on

Saab 9-3 2.0T Garrett T25 Turbo Rebuild

This is another type of Garrett T25 turbo we rebuilt at PRE. This particular turbo was in decent shape when it came in. It only needed our basic rebuild service to make it 100% again. Please look in the Turbo Services section for exact description of rebuild process.

APPLICATION:

1998-2002 Saab 9-3…B204E, B204L, B204R, B205E, B205L, B205R engines
can be adapted for use on 1998-2002 Saab 9-5 as replacement for Garrett GT17 turbo

Pictures of the finished unit:

Posted on 6 Comments

Subaru Impreza STI IHI VF39 Turbo Rebuild

This is an IHI VF39 turbocharger removed from a 2005 Subaru Impreza STI. The turbo was in decent condition to begin with and only needed a complete rebuild kit for the overhaul. Customer complained of minor oil consumption and smoking from the exhaust pipe. Inspection revealed a worn out turbine shaft seal. Complete rebuild was chosen as a solution. If you are already this far in the process why only replace one seal? We replaced all components to make this turbo 100% new. We disassembled the turbo, cleaned all components, and inspected everything. Surprising this turbo did not have the typical wastegate crack in the turbine housing. WOW! After complete inspection bearing clearances were checked using Mitutoyo micrometer and bore gauge. All clearances were within factory specification. Turbocharger rotor shaft assembly was balanced using a Schenck balancing system. This turbo is a perfect example of Basic Turbo Rebuild Service we offer.

APPLICATION:

2004-2006 Subaru Impreza STI… EJ257 engine
2002-2006 Subaru Impreza WRX… EJ205 engine
1998-2002 Subaru Forester… EJ20 or EJ25 engine swap
2003-2008 Subaru Forester XT… EJ25 engine

Pictures of the finished product:

Posted on

Subaru TD06H-20G Turbo Rebuild

Another turbo rebuild at PRE. This time we received a Subaru turbo that suffered a catastrophic failure. This turbo broke the turbine shaft due to lack of lubrication. Compressor wheel, bearing housing, turbine rotor shaft, and all consumable parts(bearings, thrust collar, shaft seals, o-rings, clips, and hardware). Turbine housing was media blasted by hand and polished afterwards. Turbine housing is ported and blended in the turbine inlet, wastegate area, and turbine outlet. Compressor housing passed inspection and received proper cleaning. Rotating assembly was balanced on a Schenck turbo balancing machine. (Note to all Subaru owners; clean or remove the oil filter for the turbo oil feed line. This clogged filter caused complete turbo destruction in minutes!)

Turbo Specifications:

  • -Compressor Wheel: 52.5mm inducer / 68 mm exducer ( 6×6 blades compressor wheel), Superback design
  • -Turbine Wheel: 58.8mm exducer / 67.14 mm inducer ( TD06H / 11 Blades )
  • -Turbine Housing: Mitsubishi Heavy Industries(MHI) 78-10820 070 (7cm) ported housing
  • -Turbine housing ported and blended originally by Deadbolt Performance
  • -Compressor Housing: TD06 housing, standard 2.25 inch inlet
  • -Turbo was Schenck balanced to less than 0.5g/cm2
  • -Oil lubrication only! Not water cooled like OEM.
  • -Turbo max rated at 440whp


Pictures after the rebuild:

Posted on 15 Comments

Hyundai Genesis Coupe 2.0T Theta engine disassembly, evaluation, and comparison to the Mitsubishi Evo X 4B11T

Today we started a new project. Customer submitted a Hyundai Genesis Coupe Theta 2.0T engine for us to disassemble, assess build quality, and suggest upgraded parts for increased performance and reliability.

Initial observations: the new engine is an all aluminum inline 4. The block is lighter than the old 4G63. Contrary to the old 4G63 found in the Lancer Evolution 7-9, the new engine has the exhaust/turbo on the left side and intake on the right side of the engine. New engine uses bucket-style direct valve activation, compared to the 4G63 using rocker arms. Oil pump is not a separate unit driven by a chain off the crankshaft and located in the oil pan. 4G63 oil pump was timing belt driven and located in the front engine cover. 4B11 does not have balance shafts like its predecessor. Crankshaft is forged and fully counter-weighed. Pistons are cast with friction coated short piston skirts. Connecting rods are “broken” or fracture style. This means the connecting rod is made of powder steel as one piece and precise “broken” during manufacturing in order to separate it. We this being the weak point of the engine. While being adequate for its designed performance duties, the rods become a weak link when increasing engine performance. This can lead to catastrophic engine failures. Our suggestion is replacement of connecting rods in all performance-oriented applications. Main caps are independent on the 4b11 contrary to the 4G63 which has a single cast-iron girdle. Before disassembly we though the engine had the upper oil pan and main caps act as one unit, common practice in racing and even modern engines such as the F20 in the Honda S2000, but this was not the case. The main caps are not tied into the oil pan, nor are they connected together with any type of girdle. This is an area of development we will take on at Pavel’s Racing Engines.

Shortly we will be performing further disassembly of the cylinder head and testing valve springs. We will also provide all component dimensions and weights.

Enjoy the pictures. Most pictures have descriptions. Click to see the details.