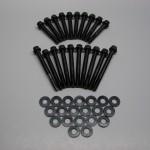
SR20DET Camshaft Cap Bolt Upgrade Kit
ABOUT ARP
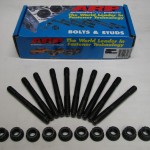
ARP is the world leader in fastener technology trusted by the industry’s leading engine builders. When it comes to your build don’t overlook one of the most important parts. Go with the best!
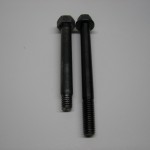
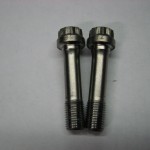
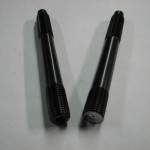
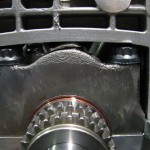
Camshaft positioning is critical on overhead camshaft engines and ARP makes sure that the cam towers are properly secured through use of these durable bolts. They are made from 8740 chrome-moly steel, with threads rolled after heat treat to ensure the optimum fatigue strength; far superior to OEM fasteners. These heat-treated 8740 chrome-moly bolts are nominally rated at 180,000 psi tensile strength to provide a substantial extra margin of safety over Grade 8(Standard) and Class 10.9(Metric) hardware.
WHY DO THIS?
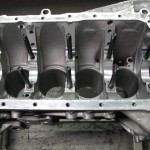
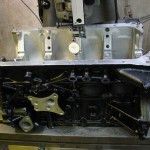
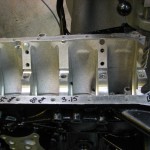
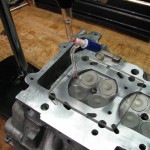
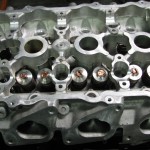
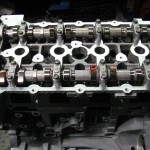
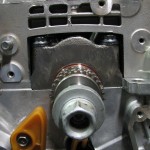
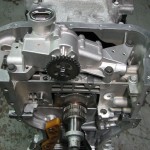
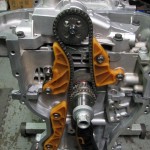
SR20DET engine has a lot of camshafts and valve springs options. Factory M6x1.0 fasteners are designed for use with factory valve springs and cams. Installing aftermarket higher pressure valve springs and high lift performance camshafts will cause the factory camshaft cap retaining bolts to stretch and fatigue over time. This can lead to broken bolts, stripped threads in the cylinder head, and even catastrophic valvetrain failure. This bolt upgrade is similar to upgrading your engine’s head and main bolts. Increased cylinder pressure causes factory designed fasteners to stretch, causing head lift and headgasket failure. To prevent these issues you replace your factory head bolts with higher tensile strength studs. Upgraded valve springs with higher spring pressure than stock causes the same affect by lifting the camshaft out of the journal. This leads to change in journal running clearance, change in oil pressure(due to increased journal clearance), rocker arm gap(which can lead to rocker arm and camshaft lobe wear), and most importantly ignition and valve timing. Camshaft lift problem is amplified in street performance engines running high pressure valve springs and low engine rpm. During low engine speed operation the camshaft lobe spends more time pushing against a stiff springs. This longer impulse contributes to fastener fatigue failure.
EXCEPTIONS
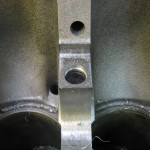
We find this problem present in engines using M6 fasteners. Engines using M8 fasteners experience similar pressures from upgraded valve springs and high lift camshafts, but since the factory fastener already has a great cross-sectional area and higher tensile strength, this upgrade is not necessary.
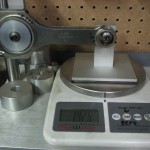
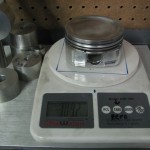
MATERIALS ANALYSIS
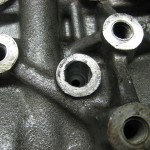
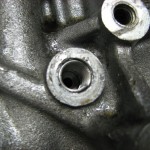
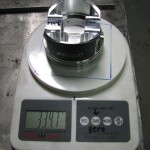
Factory fasteners are M6x1.0 metric bolts with a preload torque rating of 8ft-lb. Using several engineering reference books, bolt dimension, and torque recommended it is possible to determine factory bolt class rating and tensile strength. We found factory bolts to be Class 9.8 rating with a tensile strength of 130,00psi. Our ARP camshaft retention kit is 27% stronger than OEM.
FOOTNOTE:
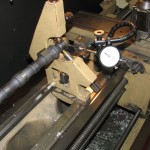
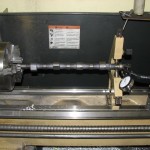
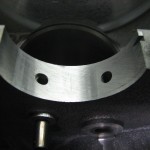
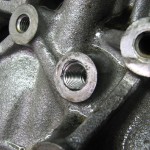
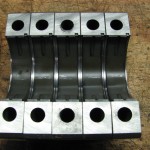
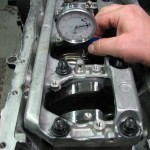
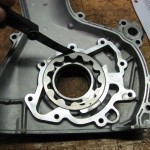
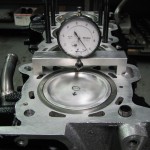
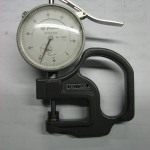
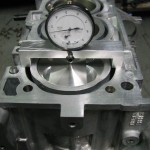
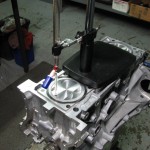
When changing from factory fasteners to high strength fasteners, clamping force and tolerances will change, therefore it will be necessary to check the bearing bores for proper size and out of round condition after installation of the bolts and align hone the cylinder head camshaft journals if necessary. Camshaft journal bores should always be align honed using the same fasteners and lubricant which will be installed during final engine assembly at the recommended preload.