STORY:
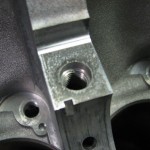
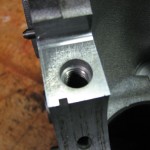
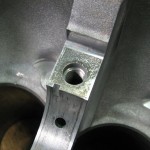
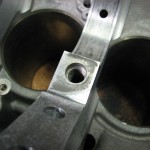
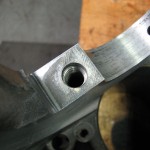
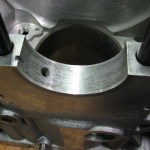
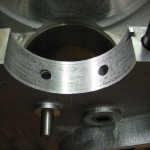
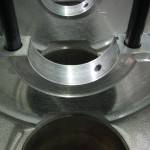
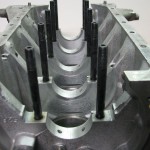
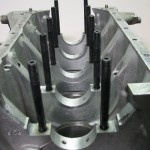
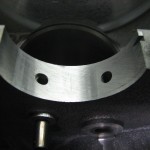
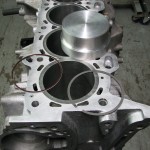
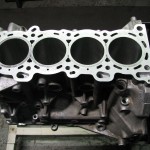
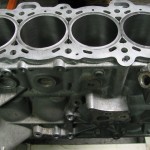
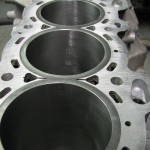
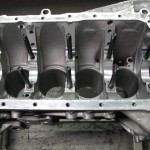
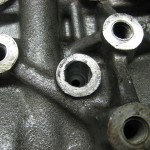
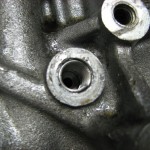
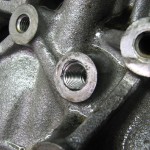
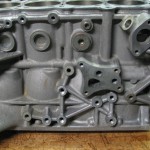
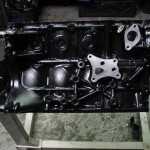
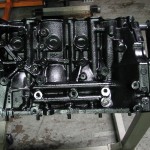
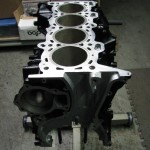
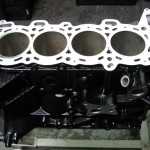
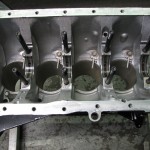
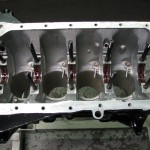
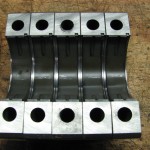
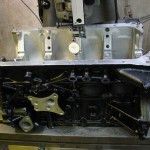
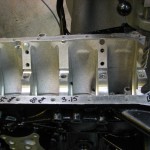
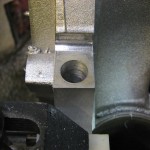
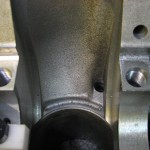
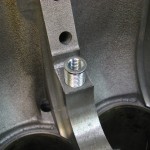
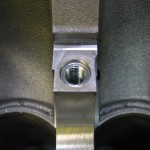
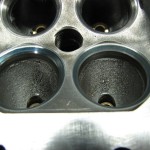
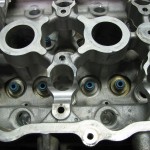
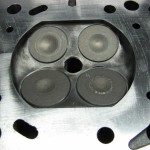
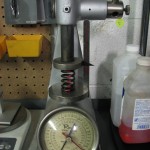
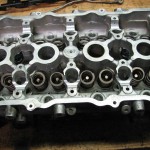
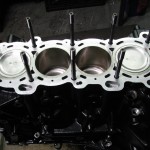
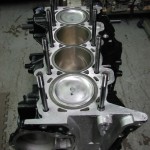
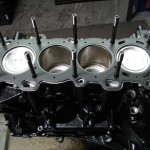
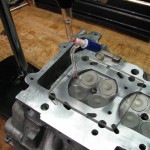
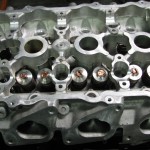
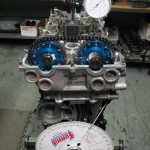
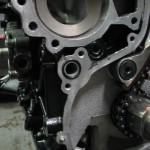
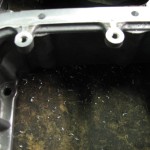
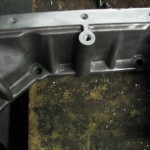
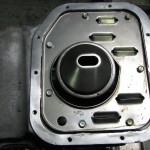
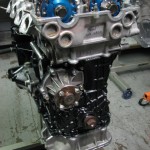
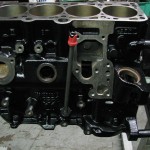
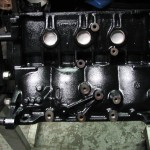
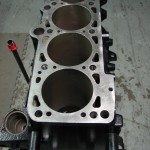
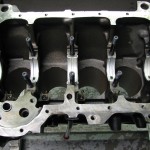
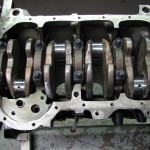
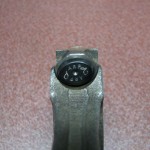
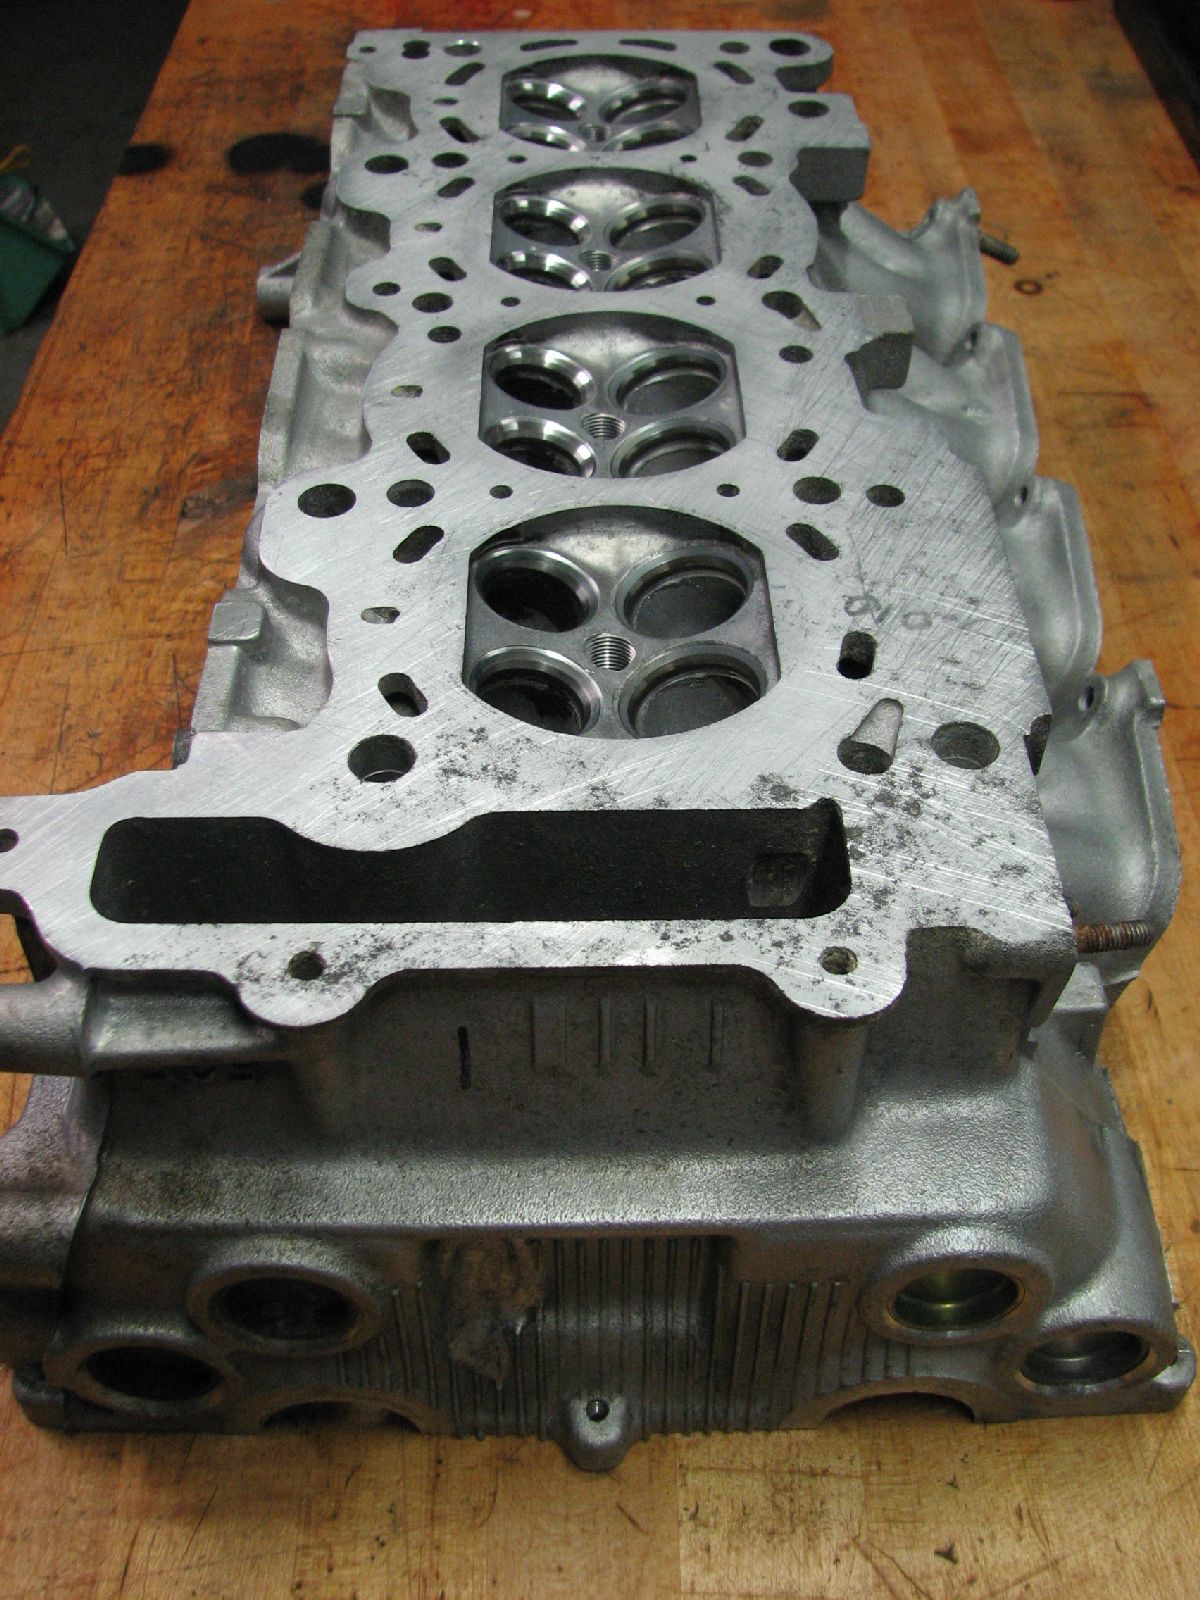
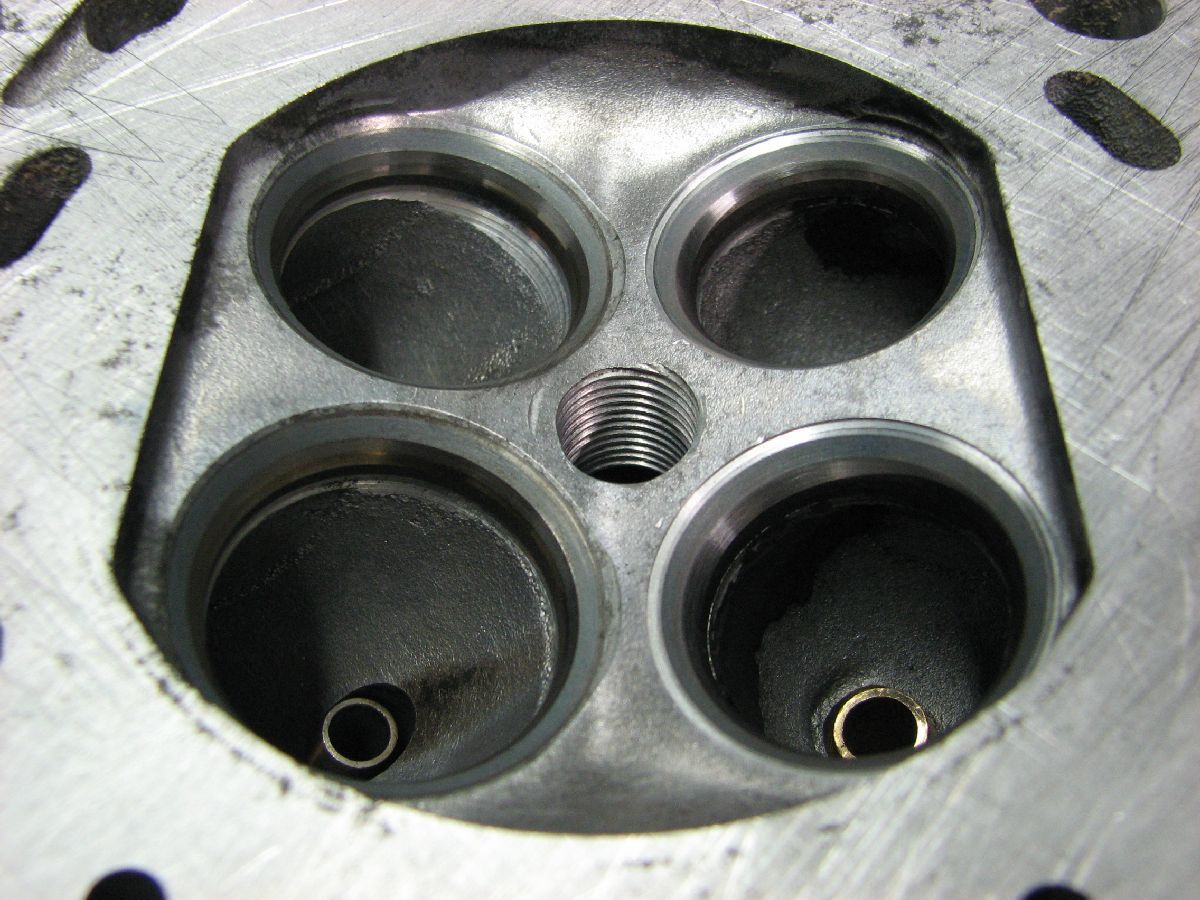
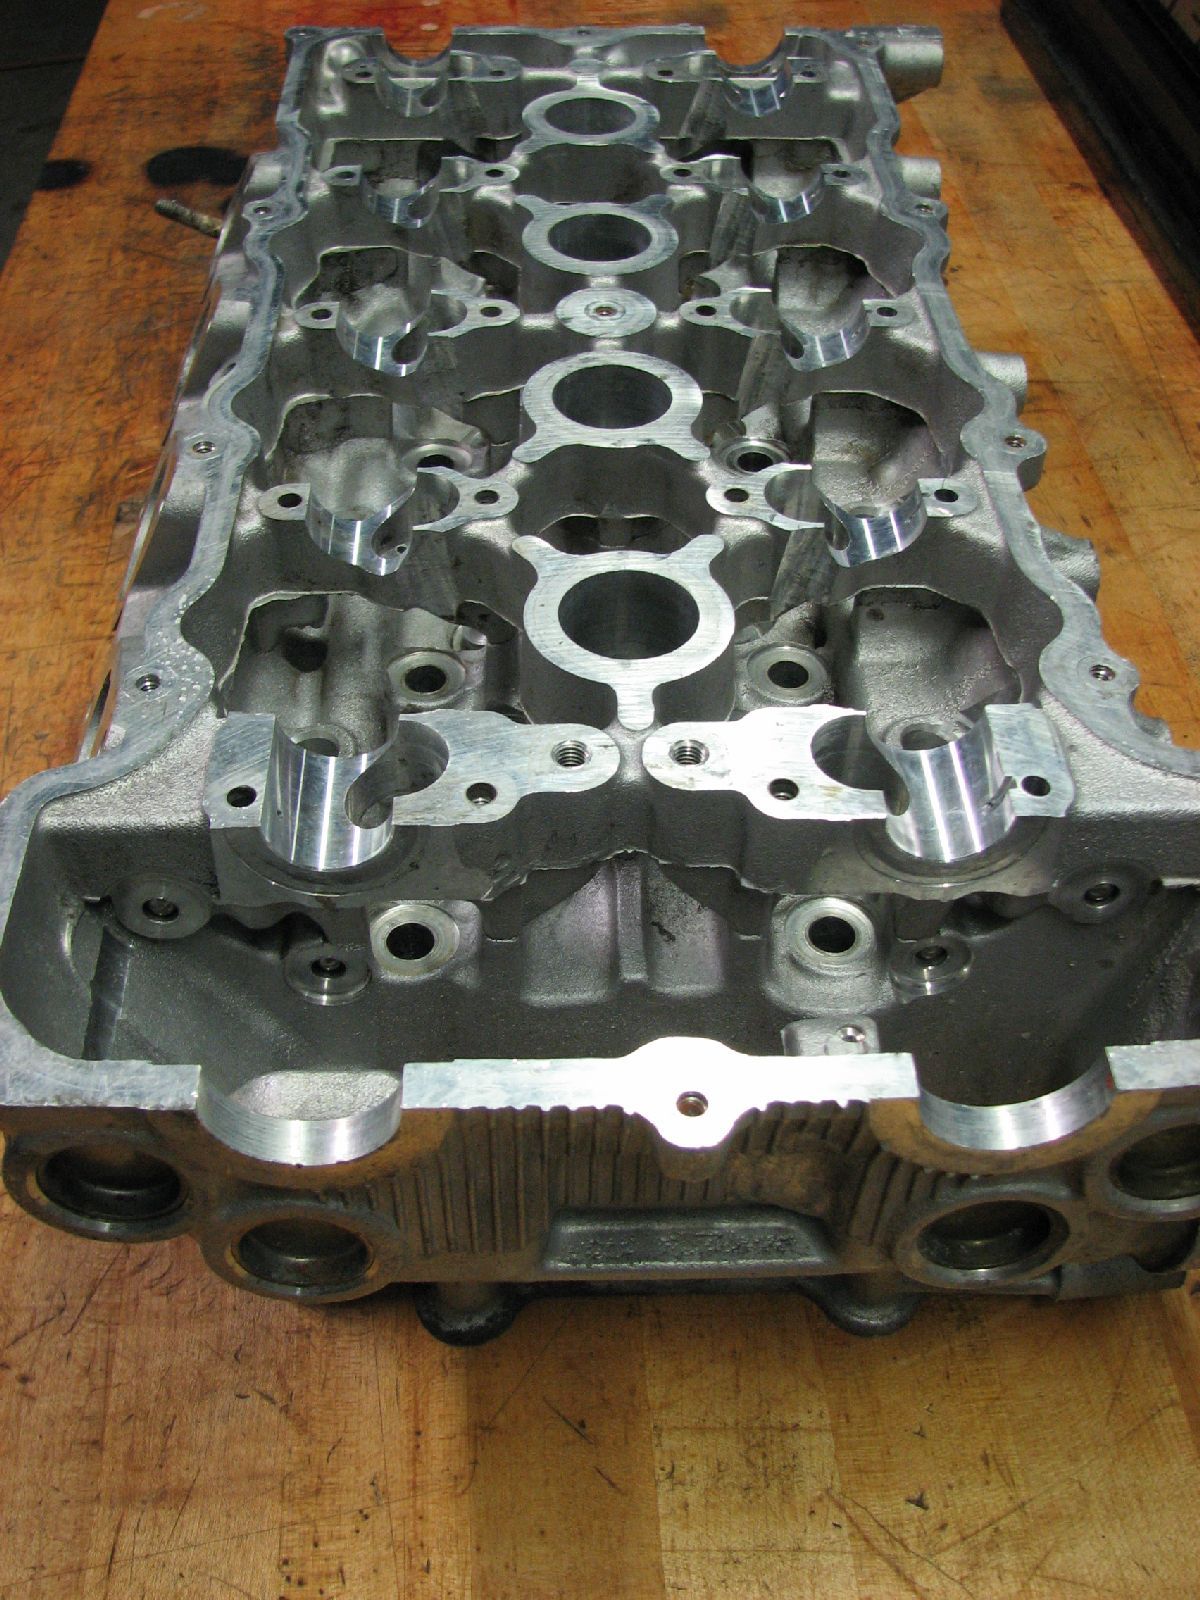
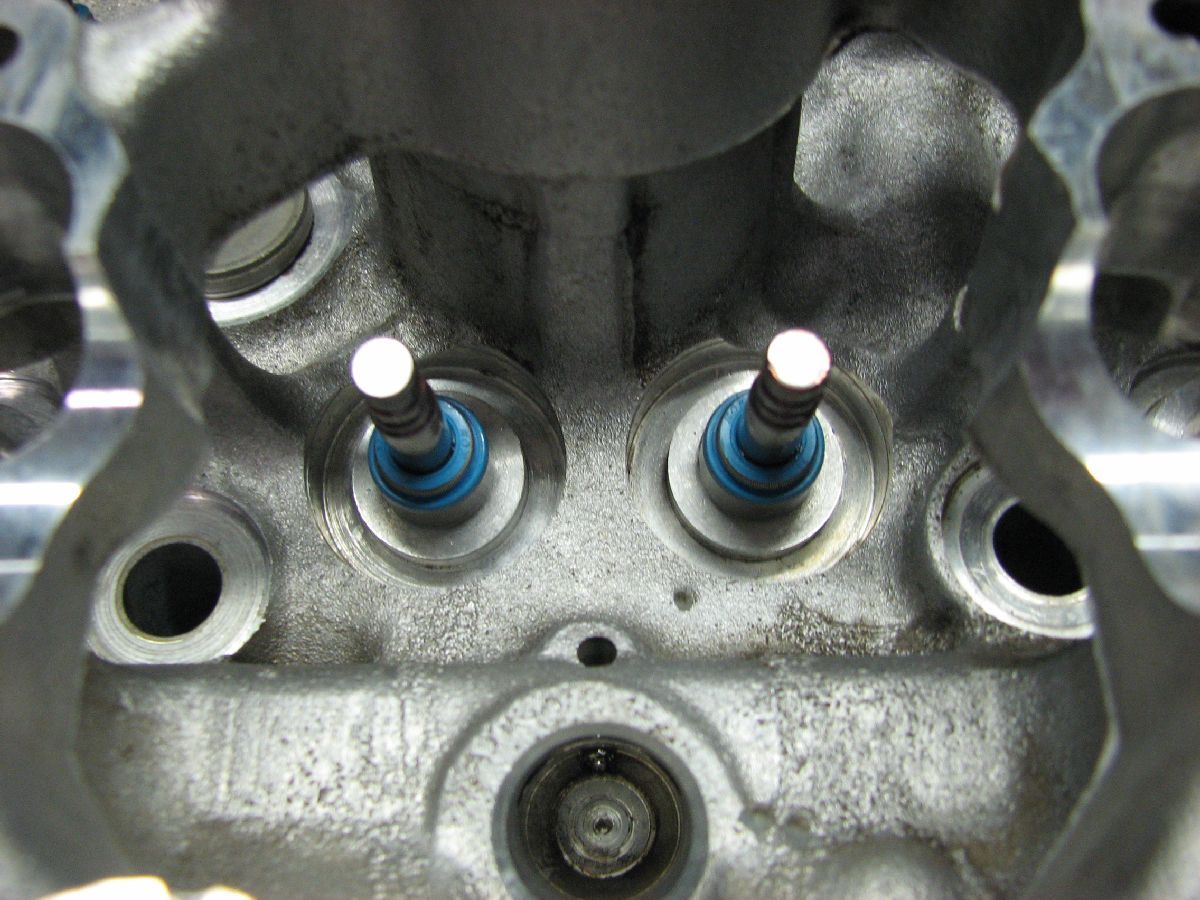
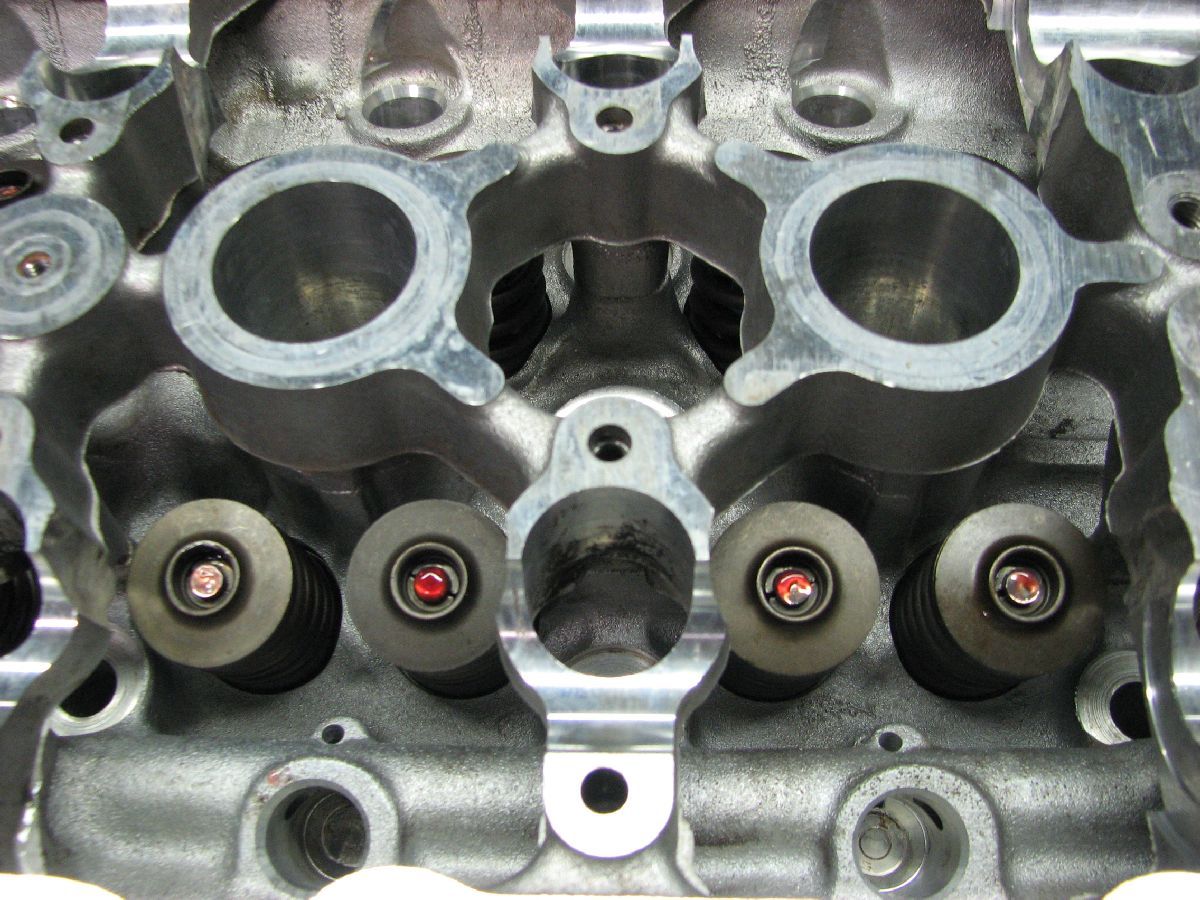
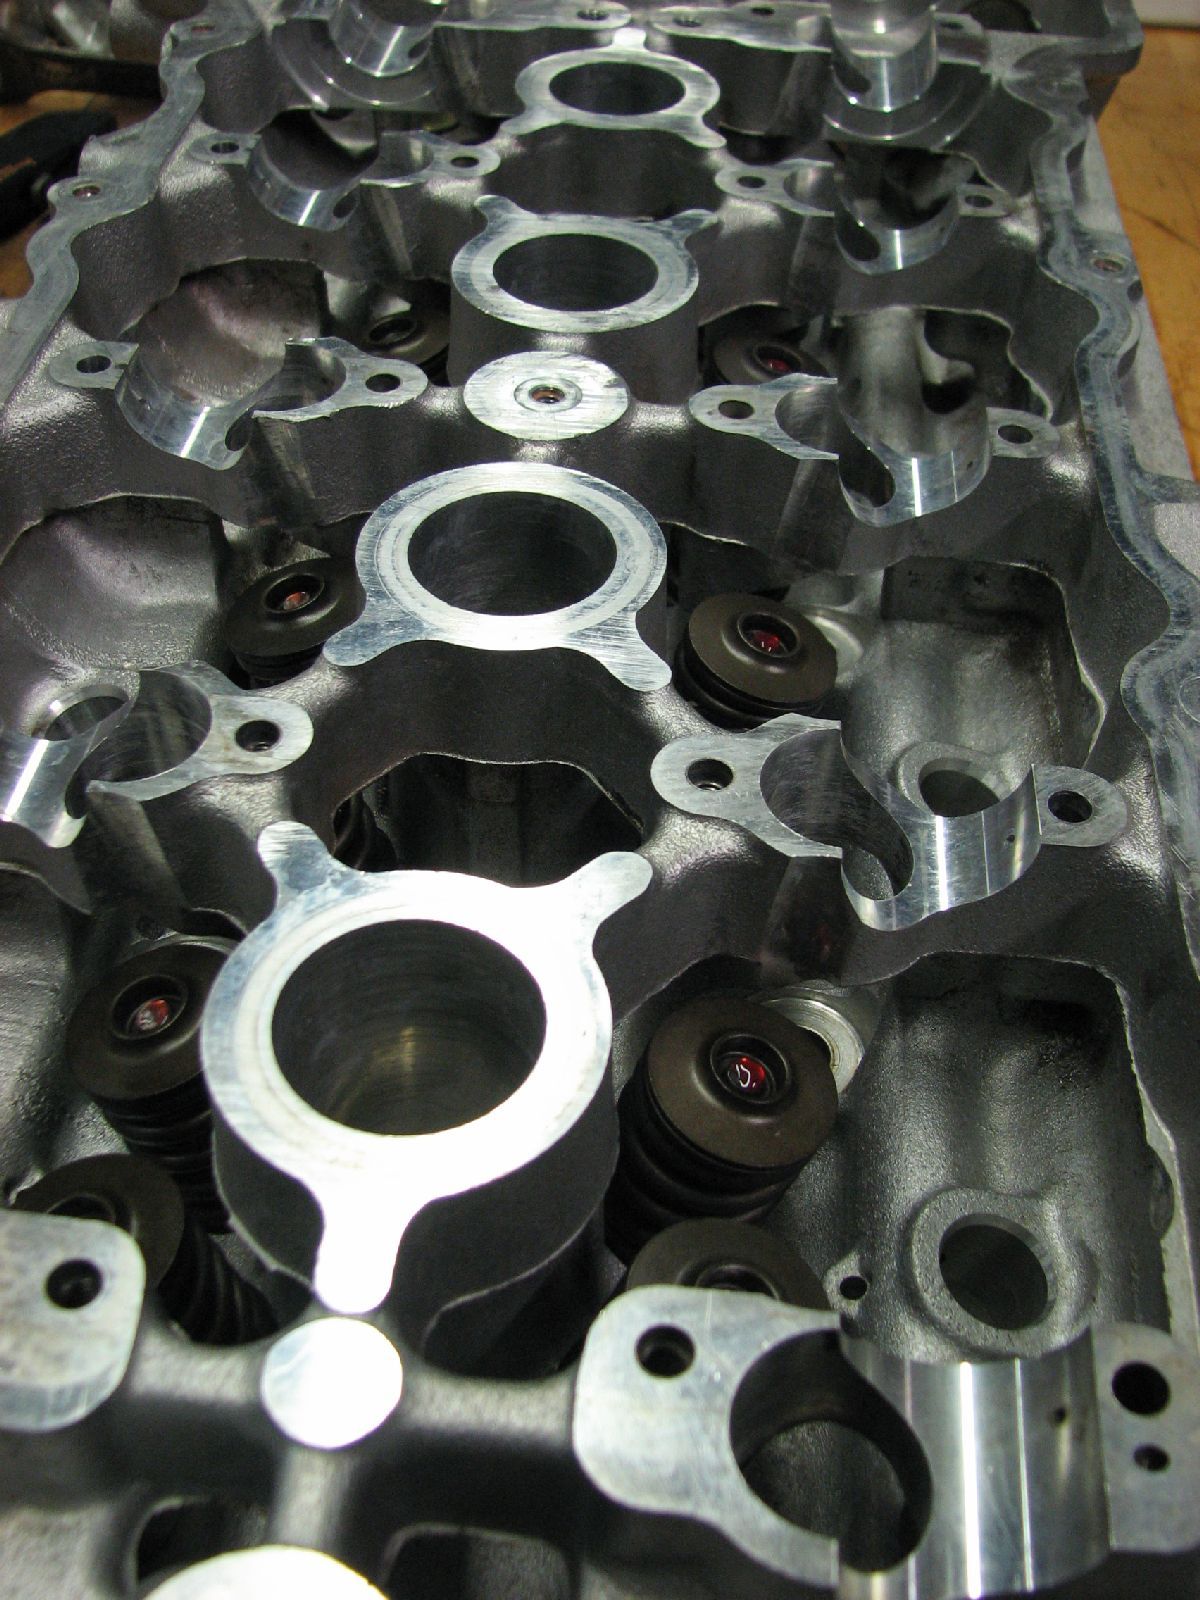
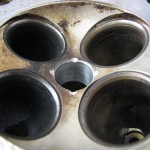
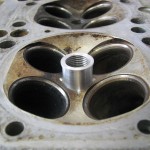
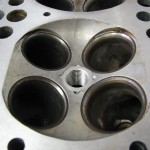
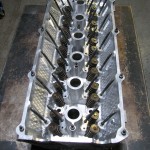
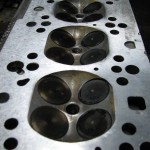
Out of state customer called us to inspect and quote an engine rebuild. This is an S13 SR20DET engine. Originally purchased as a “built motor”, this was nothing but an exercise in fixing and making right what someone else could not and did not do. Upon initial disassembly and inspection it was obvious the previous engine builder did not know what he was doing. Piston to cylinder clearances were 0.006″ inch plus. Not only were the bore clearance almost double than recommended, the bores were also tapered and out of round. This “500hp” engine still used factory main stud bolts which showed signs of wear and main cap walk and fretting. Due to heavy damage of the main stud threads, the block was mounted in a 2-axis CNC machine and all threads repaired using Time-sert thread repair system. Engine bearings were heavily worn and most likely reused during engine rebuild. Engine was advertised with a set of Brian Crower 272 degree camshaft and they turned out to be Brian Crower 264 degree camshafts. Stock valve springs and retainers used with high lift camshafts. Cylinder head was completely stock with worn intake and exhaust valve guides. All valve guides were replaced and exhaust converted to 6mm stems, in lea of standard 7mm stems. Valve guides honed using a Goodson diamond hone and seats recut using a Serdi 100 cutting system. All valve springs validated using a Rimac valve spring tester. After final assembly camshafts were degreed as per manufacturer instructions. This is critical to do since both the block and cylinder head were machined, affecting final valve and ignition timing.
PARTS LIST:
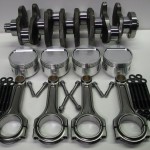
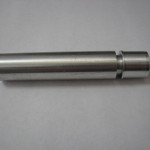
- Darton Sleeves
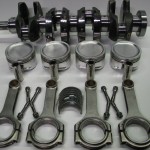
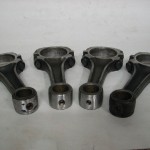
- CP 86.5mm forged pistons
- New CP piston rings
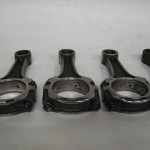
- Eagle H-beam forged steel connecting rods
- ARP 2000 1.5 inch connecting rod bolts
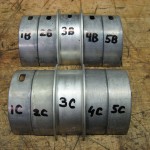
- ACL Race series main, rod, and thrust bearings
- ARP main stud kit
- ARP head stud kit
- Silicone bronze intake and exhaust valve guides
- New 6mm stem intake and exhaust valves
- Brian Crower 272 degree intake and exhaust camshafts
- Brian Crower single valves springs
- Brian Crower titanium retainers
- Fidanza adjustable camshaft sprockets
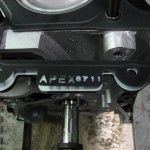
- Apexi 87mm head gasket
- Rocker arm stoppers
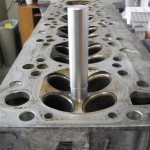
- Install Darton sleeves
- Bore/hone block to size
- Deck mill block with oil pump front cover and hand stone to prepare for metal head gasket
- Align hone crankshaft main bearing bores
- CNC repair main stud threads
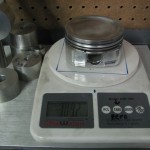
- Weight match pistons
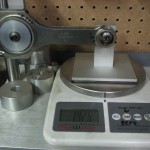
- Weight match connecting rods
- Measure and record connecting rod bolt lengths in log book
- Balance and micropolish crankshaft
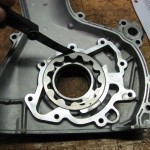
- Disassemble, clean, and inspect oil pump
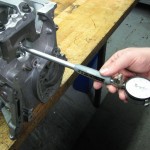
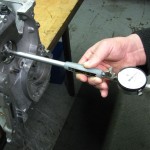
- Measure all bearing clearances using micrometers and bore gauges
- File fit piston rings using Childs & Alberts piston ring grinder
- Replace front and rear main seals
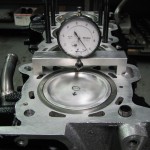
- Measure piston deck height
- Measure piston dish volume for compression ratio calculator
- Replace intake and exhaust valve guides with silicone bronze units
- Hone valve guides using Goodson diamond hone
- Recut valve seats using Serdi 100 machining system
- Hand lap all valves and check with machinists blue for seal
- Deck mill cylinder head and hand stone to prepare for metal head gasket
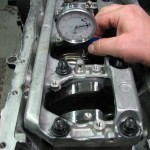
- Check valve spring pressure using Rimac valve spring tester
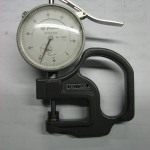
- Check rocker shim thickness and adjust for proper fit
- Bleed hydraulic lifters
- Degree camshafts using degree wheel and dial indicator