For your convenience we added hyperlinks to important topics. All words in bolt are hyperlinked to websites relating to products or topics discussed.
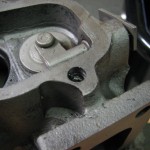
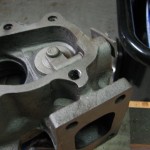
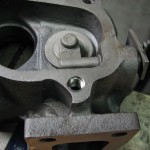
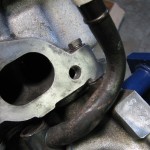
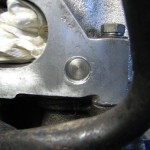
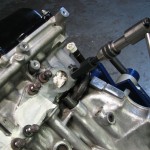
This page is dedicated to show and teach how helicoil thread repairs are performed. We will be performing 2 separate thread repairs using Helicoil thread repair kit. One repair will be done in an aluminum cylinder head and the other one in a cast iron turbocharger turbine housing.
In both cases threads were damaged beyond repair, or “chasing”, with a thread tap. There are many different thread repair systems. Helicoil, Recoil, Time-Sert, and Dorman are just some of the few companies who manufacture thread repair systems. One thing to remember; you cannot mix thread taps and inserts between different brands.
We chose to use a Heli-coil brand thread repair kits for both these jobs.
Principle of operation:
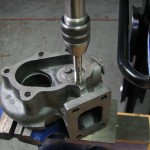
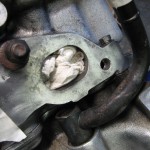
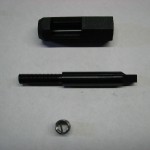
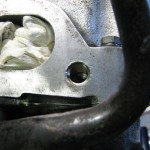
Step 1:
Drill out the damaged threads using the
drill size specified in the HeliCoil catalog.
Drill to a sufficient depth to accommodate
the HeliCoil insert length and the bolt or
screw being used.
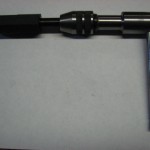
Step 2:
Tap the hole using the HeliCoil tap. Tap the hole to
sufficient depth to accommodate the HeliCoil insert
length and the bolt or screw being used.
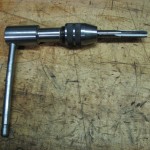
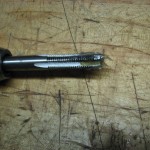
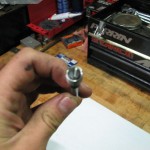
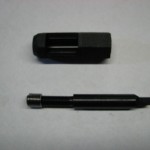
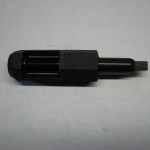
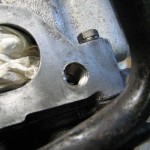
Step 3:
Place the HeliCoil insert onto the mandrel
of the HeliCoil installation tool. Place the
HeliCoil installation tool over the hole and
wind the HeliCoil insert into the hole until
the top coil is 1/4 to 1/2 turn below the
top surface.
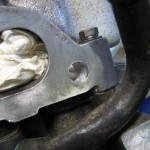
Step 4:
The tang must be removed to allow full passage
of the bolt or screw through the HeliCoil insert.
Place the tang break-off tool squarely on the
tang of the HeliCoil insert and then give it a sharp
blow with a hammer.
For HeliCoil inserts with diameters bigger than
1/2 inch, 12mm, and for spark plug inserts, use
long nosed pliers to remove the tang. Hold the
tang with the pliers, bend it alternately in and out
until it comes free.
Click each picture for step-by-step description