Posted on

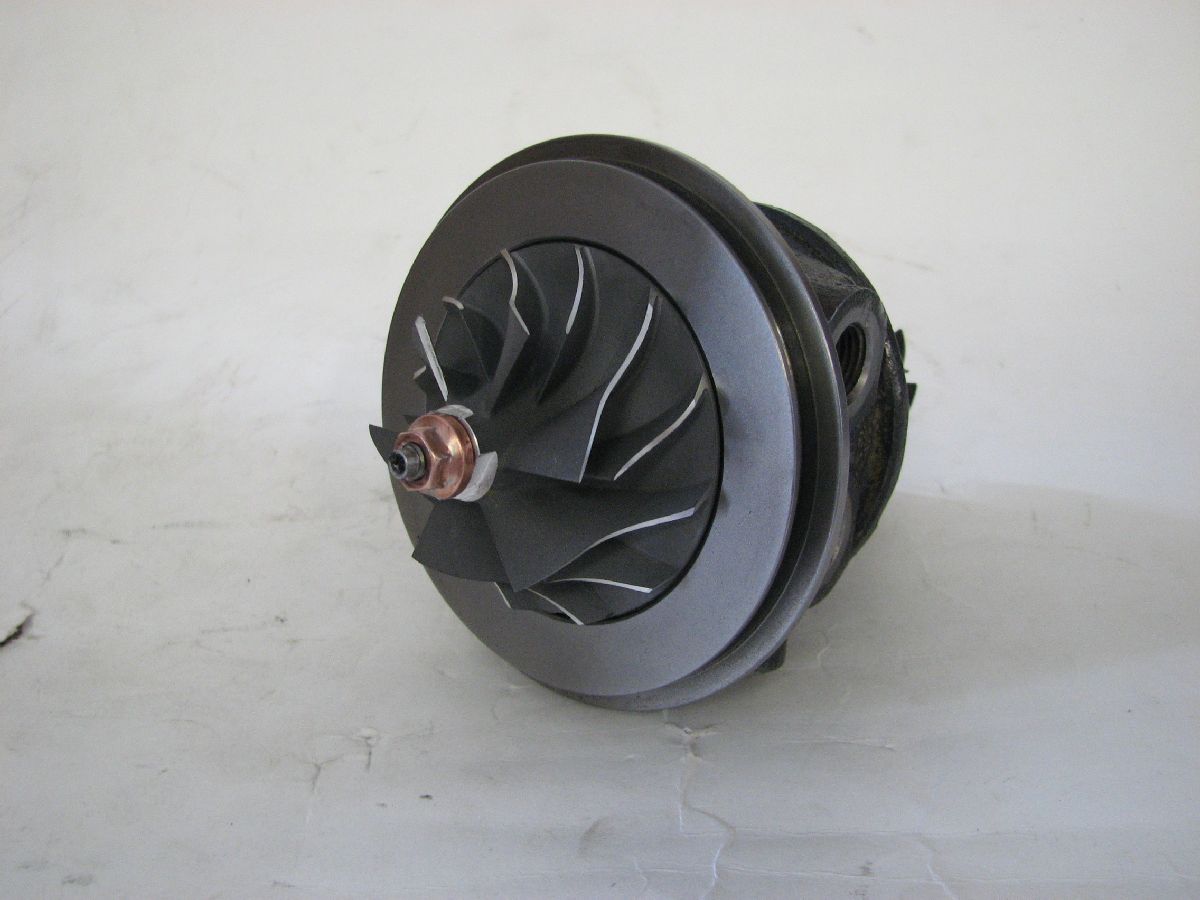
2007 Subaru Impreza STI turbo rebuild IHI VF43

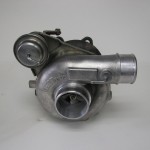
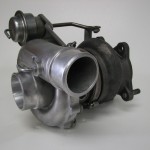
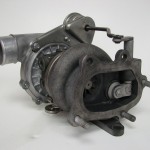
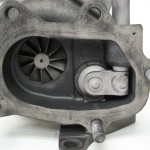
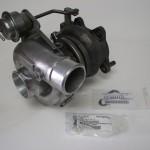
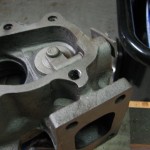
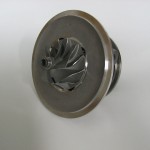
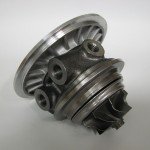
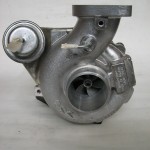
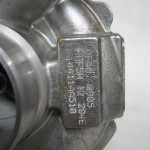
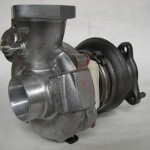
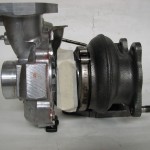
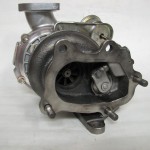
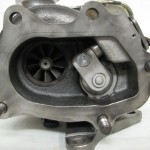
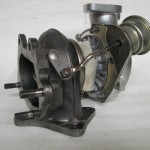
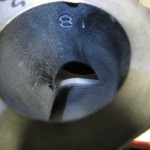
This is an IHI VF43 turbocharger removed from a 2007 Subaru Impreza STI. The turbo was in decent condition to begin with and only needed a complete rebuild kit for the overhaul. Customer complained of minor oil consumption and smoking from the exhaust pipe. Inspection revealed a worn out turbine shaft seal. Complete rebuild was chosen as a solution. If you are already this far in the process why only replace one seal? We replaced all components to make this turbo 100% new. We disassembled the turbo, cleaned all components, and inspected everything. This IHI turbo, like most, suffer from a crack in the wastegate valve are of the turbine housing. After complete inspection bearing clearances were checked using Mitutoyo micrometer and bore gauge. All clearances were within factory specification. Turbocharger rotor shaft assembly was balanced using a Schenck balancing system. This turbo is a perfect example of Basic Turbo Rebuild Service we offer.

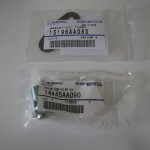
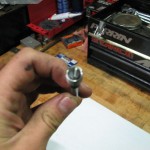
Correct turbocharger installation procedure is extremely important for proper operation and life of the product. Majority of Subaru turbocharger failures can be traced to a clogged union bolt filter in the turbo oil feed line. We provide a new union bolt/filter and turbo oil drain gasket at no charge with every Subaru turbo rebuild service. We strive to offer exceptional service and concise solution to our customers.

APPLICATION:

  • 2007 Subaru Impreza STI (EJ257 engine)
  • 2004-2006 Subaru Impreza STI (EJ257 engine)
  • 2002-2006 Subaru Impreza WRX (EJ205 engine)
  • 1998-2002 Subaru Forester (EJ20 or EJ25 turbo engine swap)
  • 2003-2008 Subaru Forester XT (EJ25 engine)

Pictures of the finished product:

Posted on

Caterpillar Industrial Turbo Wastegate Repair

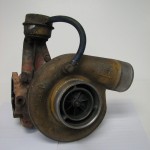
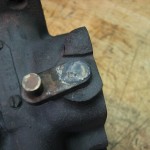
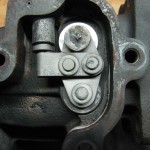
This is a project that came to us yesterday. This turbocharger was removed from an industrial turbo diesel Caterpillar engine. This turbo has a twin scroll turbine housing and utilizes 2 wastegate valves. After heavy use the turbo wastegate valve failed completely and broke off from the flapper arm. This caused the engine to produce almost no boost pressure, rendering the work truck inoperable, costing the company money while out for repairs. Replacement parts for this turbo are not available from Caterpillar or the turbo aftermarket. Only option was turbo replacement, at a cost of $1500. There was nothing wrong with the turbocharger other than wastegate failure and rendering it useless was not an option.

Turbocharger was disassembled and turbine housing media blasted by hand. During disassembly process all 4 retaining bolts sheared off inside the housing despite extensive heating. All broken bolts were drilled out and retapped to proper size. New stainless steel bolts used for mounting of the CHRA to the turbine housing.

We opted to machine our own replacement wastegate valve and perform necessary repairs in a timely manner. New wastegate valve was machined from 304 grade stainless steel in a lather using same dimensions as the other, still functional, valve. New valve was welded to the flapper arm allowing for motion same as original one. The flapper arm was reinstalled in the turbine housing and welded to the actuator level arm. Turbocharger was reassembled and proper wastegate actuator operation confirmed.

Turnaround time for repair was one day; even less than ordering a new turbo!

Below you will find pictures of the repair process:

Posted on

Hyundai Genesis Coupe 2.0T Theta Engine ARP Main Stud Kit

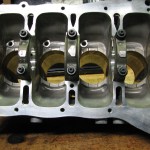
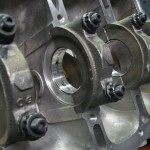
We would like to announce the development of a main stud kit for the Hyundai Genesis Coupe Theta I4 engine. Theta I4 engine is very similar to the Mitsubishi 4B11T engine. This kit was developed because no such application was available in the aftermarket performance industry. This kit was custom developed in a collaboration between Pavel’s Racing Engines and ARP, the world leader in performance fastener technology.

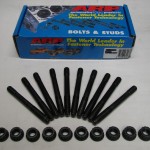
This ARP2000 main stud kit includes a set of ten ARP2000 main studs and ten 8740 chrome moly steel 12 pt nuts and a 1/2 oz. pack of ARP Ultra-Torque fastener assembly lubricant. All Pro Series ARP2000 studs are centerless ground, heat treated prior to thread rolling and machining, and are nominally rated at 220,000 psi. These fasteners deliver a 50% increase in tensile strength over the OEM main bolts. Additionally, main studs utilize a base seating feature to evenly distribute maximum load on the stud and not the threads. This feature is typically found only in high level race engines. This is the pointed, pilot tip, at the end of the stud.

Advantages of having ARP main stud kit over using factory bolts:

  • more accurate torquing of the fastener(ARP studs, unlike bolts, do not twist during the torquing process, thus giving you a more accurate reading than traditional bolts that twist during tightening.)
  • reduction of main cap walk(Main cap walk occurs when great combustion loads force the crankshaft downwards against the cap, causing it to lift off the block mating surface and shift out of alignment.)
  • reduction of main cap fretting(Fretting is micro-motion between the main bearing cap and block that results in material loss at the joint. This motion causes a loss of crankshaft to main bearing running clearance that can lead to a spun main bearing, a spun connecting rod bearing, and/or a broken crankshaft.)
  • more consistent alignment of main caps(ARP studs installed prior to crankshaft and main cap installation helps with alignment and seating.)
  • faster and more accurate assembly and disassembly of the engine
This is the picture of the kit we developed:
Posted on

Subaru Impreza TD05H-16G turbine housing porting

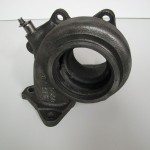
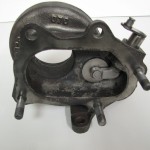
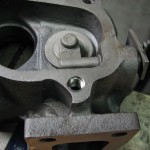
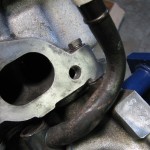
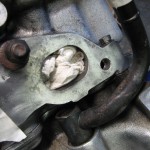
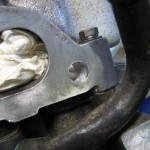
This is another turbine housing porting and blending job we did. This is a purposeful modification and not just another thing to add to your “modifications list”. Main purpose of turbine housing porting is to reshape the inlet and remove airflow restriction to the internal wastegate. Restrictive wastegate castings can lead to boost creep condition. We blend and reshape the turbine housing to increase flow to the wastegate valve and improve boost pressure control. Porting of the turbine housing, as typically performed by tuner shops, can actually be detrimental to performance and durability of the turbocharger. Turbocharger manufacturers spend millions of dollars on research and development of the optimal housing size and shape. Porting and removing of material will increase housing inner dimensions and leads to premature cracking. We blend casting marks of the turbine housing and polish it. Only material removal we do benefits wastegate exhaust gas flow characteristics.

This turbine housing porting and reshaping performed on a MHI(Mitsubishi Heavy Industries) TD05H-16G turbo, designed for a Subaru application. This turbo uses a 7cm turbine housing.

This turbo is a direct bolt-on for the following applications:

  • 2002-2006 Subaru Impreza WRX
  • 2004-2008 Subaru Impreza STI
  • 2003 Saab 9-2x
Before and after pictures:


Posted on

Engine Break-in Instructions

Pavel’s Racing Engines recommends the following engine break-in instructions to all of our engine customers. The following procedure is a compilation of information collected over the years from very reputable sources such a TRD Formula Atlantic, VW SuperVee, and World Champion snowmobile engine builders. We have had zero engine failures due to using this engine break-in procedure.

Engine Break-in Procedure

(Some points may not apply to your engine)

To ensure long life and reliability you must properly break in your freshly assembled engine. Most critical engine break-in and piston ring seating occurs within the first twenty miles of driving. Proper break in ensures higher compression, less oil consumption, less blow-by, and most importantly longer engine life.

For high performance motors, fill with good grade mineral oil. NEVER USE SYNTHETIC OIL FOR ENGINE BREAK-IN!

Composite fiber/graphite head gasket need to be re-torqued after heat cycling the engine. Multi layer steel head gaskets do not require to be re-torqued.

Valve lash needs to be checked and/or adjusted on solid lifter motors only. Hydraulic lifter engines are exempt from this step. Make sure hydraulic lifters were bled properly prior to engine assembly. Certain applications allow for hydraulic lifter bleeding with the engine running, while others do not allow for such procedure at all. Reference manufacturers service manual for specific information pertinent to your application. Adjustment on bucket style solid lifter systems is not necessary in most cases. Adjustable rocker arm lifter system commonly found on Honda engines needs to be checked and/or adjusted after initial engine run-in.

Engine break-in oils such as Valvoline or Brad Penn should be used when possible. Use straight 30W engine break-in engine oil. When break-in oil is not available fill the engine with good grade 20W-50 mineral based oil.

Always use new spark plugs in your engine.

Fill the oil filter with oil before installing it. Remove the spark plugs and crank the engine until proper oil pressure shows on the gauge. Re-install the spark plugs. Now you are ready to start the engine.

Start the engine and check for leaks. Make sure the vehicle is completely operable for its first run. Warm up the engine completely. After 15 minutes stop the engine, check the valve lash and re-torque the head bolts. Drain the oil and change the filter. Re-fill the engine with 20W-50 mineral based oil.

You will be driving the engine hard to ensure proper ring seating. It is best to perform engine break-in on the dyno or a race track. Do not attempt to race the engine on the street. This puts yourself and others around you in danger.

Street break-in: Warm up the engine completely. Drive at slow vehicle speeds with a lot of throttle opening in 2-4 gears at high engine RPM. Don’t lug the engine because that is worse for the motor than over revving it. Low engine RPM and high throttle opening is bad for your engine. Do so in burst of acceleration and deceleration. Do not run the engine at a constant engine speed. This can cause piston ring glazing.

Racetrack break-in: Warm up the engine completely. Do one easy lap to warm up the tires. Go back to the pit and check for leaks or any problems. If everything checks out, take a normal 15 minute practice session and check water temperature frequently. The racetrack is a perfect place to break in the engine. The combination of acceleration and deceleration is exactly what you need for optimal piston ring seal.

It may be useful to cut open used filters and inspect for metal particles and shavings after initial engine break-in run.

After 500 miles change the oil and filter again. You can now use synthetic oil if you want to. Use 20W-50 oil and change it every 3,000 miles. Your engine is now broken in.

Any questions please contact us for technical assistance. Thank you for your business!

Posted on

Helicoil thread repair demonstration

For your convenience we added hyperlinks to important topics. All words in bolt are hyperlinked to websites relating to products or topics discussed.

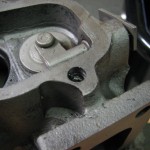
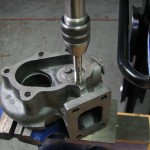
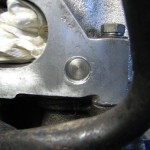
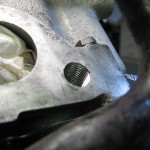
This page is dedicated to show and teach how helicoil thread repairs are performed. We will be performing 2 separate thread repairs using Helicoil thread repair kit. One repair will be done in an aluminum cylinder head and the other one in a cast iron turbocharger turbine housing.

In both cases threads were damaged beyond repair, or “chasing”, with a thread tap. There are many different thread repair systems. Helicoil, Recoil, Time-Sert,  and Dorman are just some of the few companies who manufacture thread repair systems. One thing to remember; you cannot mix thread taps and inserts between different brands.

We chose to use a Heli-coil brand thread repair kits for both these jobs.

Principle of operation:

Step 1:
Drill out the damaged threads using the 
drill size specified in the HeliCoil catalog. 
Drill to a sufficient depth to accommodate 
the HeliCoil insert length and the bolt or 
screw being used.
Step 2:
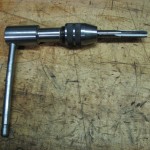
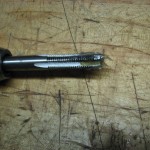
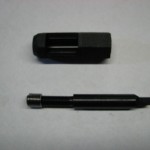
Tap the hole using the HeliCoil tap. Tap the hole to 
sufficient depth to accommodate the HeliCoil insert 
length and the bolt or screw being used.
Step 3:
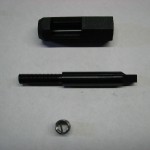
Place the HeliCoil insert onto the mandrel 
of the HeliCoil installation tool. Place the 
HeliCoil installation tool over the hole and 
wind the HeliCoil insert into the hole until 
the top coil is 1/4 to 1/2 turn below the 
top surface.
Step 4:
The tang must be removed to allow full passage 
of the bolt or screw through the HeliCoil insert. 
Place the tang break-off tool squarely on the 
tang of the HeliCoil insert and then give it a sharp 
blow with a hammer. 
For HeliCoil inserts with diameters bigger than 
1/2 inch, 12mm, and for spark plug inserts, use 
long nosed pliers to remove the tang. Hold the 
tang with the pliers, bend it alternately in and out 
until it comes free.
Click each picture for step-by-step description

Posted on 2 Comments

Subaru Legacy GT IHI VF40 turbo rebuild

We have been extremely busy with turbo rebuilds and finally have pictures of a turbo rebuild we did for a customer in Anchorage, Alaska. This is an IHI VF40 turbocharger that came off a 2005 Subaru Forester. The turbo was in very bad shape when we received it for the overhaul. Customer complained of major oil consumption and smoking from the exhaust pipe. Inspection revealed a broken turbine rotor shaft and major damage to all components. . Complete rebuild was chosen as a solution. After final cost analysis we decided a whole new cartridge, CHRA, was the most cost effective solution for the customer. We replaced the CHRA to make this turbo 100% new. We disassembled the turbo, cleaned compressor housing and media blasted the turbine housing.

APPLICATION:

2005-2007 Subaru Legacy GT
2005-2007 Subaru Outback
2005-2007 Subaru Baja
2003-2008 Subaru Forester XT… EJ25 engine

Pictures of the finished product:

Posted on

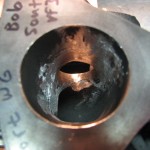
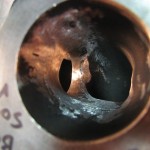
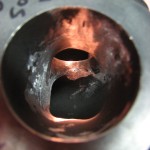
Subaru Impreza STI IHI VF39 turbine housing wastegate porting

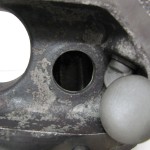
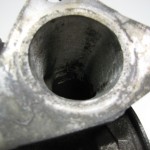
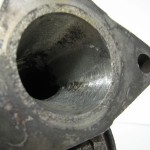
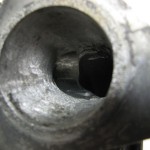
Pavel’s Racing Engines is proud to offer turbine housing porting and blending services for your turbochargers. This is a purposeful modification and not just another thing to add to your “modifications list”. Main purpose of turbine housing porting is to reshape the inlet and remove airflow restriction to the internal wastegate. Restrictive wastegate castings can lead to boost creep and boost spike conditions at different engine operating conditions. We blend and reshape the turbine housing to increase flow to the wastegate valve and improve boost pressure control. Porting of the turbine housing, as typically done by tuner shops, can actually be detrimental to performance and durability of the turbocharger. OEM manufacturers spend millions of dollars on research and development of the optimal housing size and shape. Porting and removing of material will increase housing inner dimensions and can lead to premature cracking. We blend casting marks of the turbine housing and polish it. Only material removal we do benefits wastegate exhaust gas flow characteristics.


Pictures of a blended and modified wastegate opening on a Subaru Impreza WRX IHI VF39 turbo:

Posted on

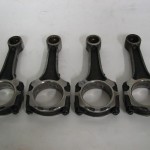
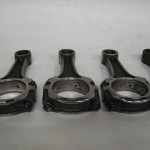
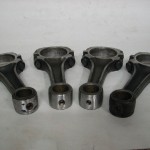
Nissan SR20DET connecting rod weight matching service

This is another service we offer here at Pavel’s Racing Engines. We can weight match, aka balance, your engine’s connecting rods and install ARP rod bolt. As a sample of our work we have a set of Nissan SR20DET connecting rods. We can provide this service for any set of connecting rods; motorcycle, automotive, truck, industrial, import, domestic, marine, we can do it all. We have precision scales to weight match every connecting rod to within 0.5 grams of each other. We weight match the small and big end of the rod. We identify each bolt and provide rod bolt log sheet with every connecting rod order. This way you can monitor rod bolt stretch and replace worn bolts before catastrophic engine failure occurs. All connecting rod bolts replaced with appropriate application kit for one of the best hardware manufacturers in the world, Automotive RAcing Products (ARP).


We performed the following services on the connecting rod:

  • -Check for bend and twist, and correct if necessary
  • -Check piston pin bushing
  • -Weight match small and big ends of connecting rods
  • -Install ARP connecting rod bolts
  • -Engrave each bolt for identification, measure it’s free length, and record in the “Rod Bolt Log Sheet”
  • -Compare “torque” vs “stretch” methods for bolt validation
  • -All bolts torque using ARP Ultra-Torque Moly Lubricant
___________________________________________________________________________________
We offer connecting rod weight matching, balancing, and ARP rod bolt installation for the following engines:
  • -Toyota: 2JZGE, 2JZGTE, 1JZGTE, 4AGE, 4AGZE, 1UZFE
  • -Nissan: SR20DET, SR20DE, SR20VE, KA24E, KA24DE, VG30DE, VG30DETT, VQ35DE, VQ40DE, RB20DET, RB25DET, RB26DETT
  • -Subaru: EJ205, EJ207, EJ20T, EJ22t, EJ255, EJ257
  • -BMW: M50, M52, M54, S50, S52, S54
___________________________________________________________________________________

Pictures of completed set:


Posted on

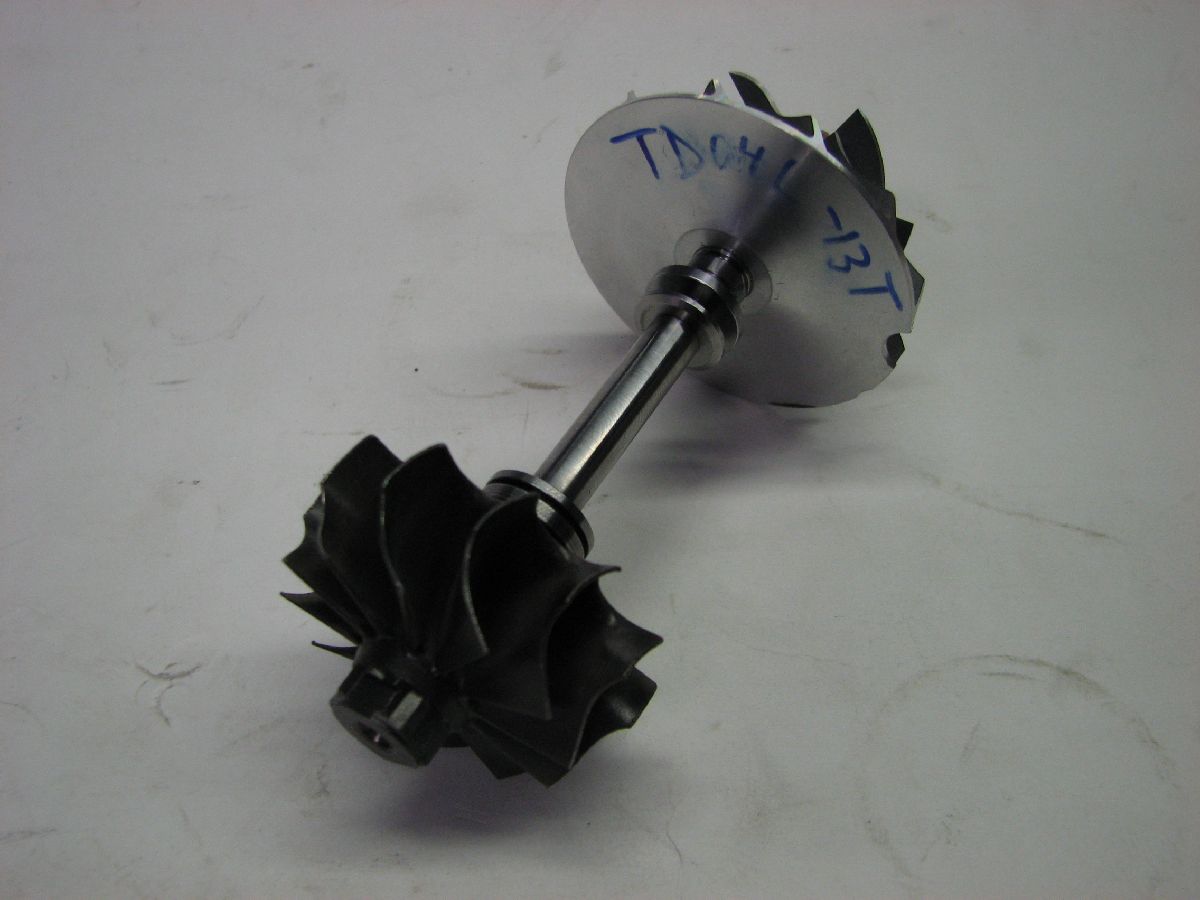
Subaru Impreza WRX 02-06 TD04H-13T Turbo Rebuild

This yet another type of Subaru turbo we rebuild at PRE. This unit came in poor condition. A lot of shaft play, smoking and burning oil, and visibly damaged compressor wheel. Upon disassembly, cleaning, and inspection we decided this turbo still qualifies for our Basic Turbo Rebuilt Service with the only additional cost being new compressor wheel. Ne standard size journal bearings were measured with a micrometer and bearing housing clearance checked using a bore gauge. Luckily journal bearing clearance was within factory specification. This means we did not need to hone the housing and install oversized journal bearings. Compressor wheel showed visible wear which was confirmed with a digital caliper measurement. It was replaced with a brand new unit. Compressor housing clearance was checked and found to be acceptable. Compressor wheel wear did not leave grooved marking of the housing. Turbine rotor shaft was measured to be within factory specifications on all dimensions and was saved. We micropolished the shaft and removed any small imperfections. Rotor assembly was balanced with new compressor wheel and turbocharger assembled.

Pictures of individual components: